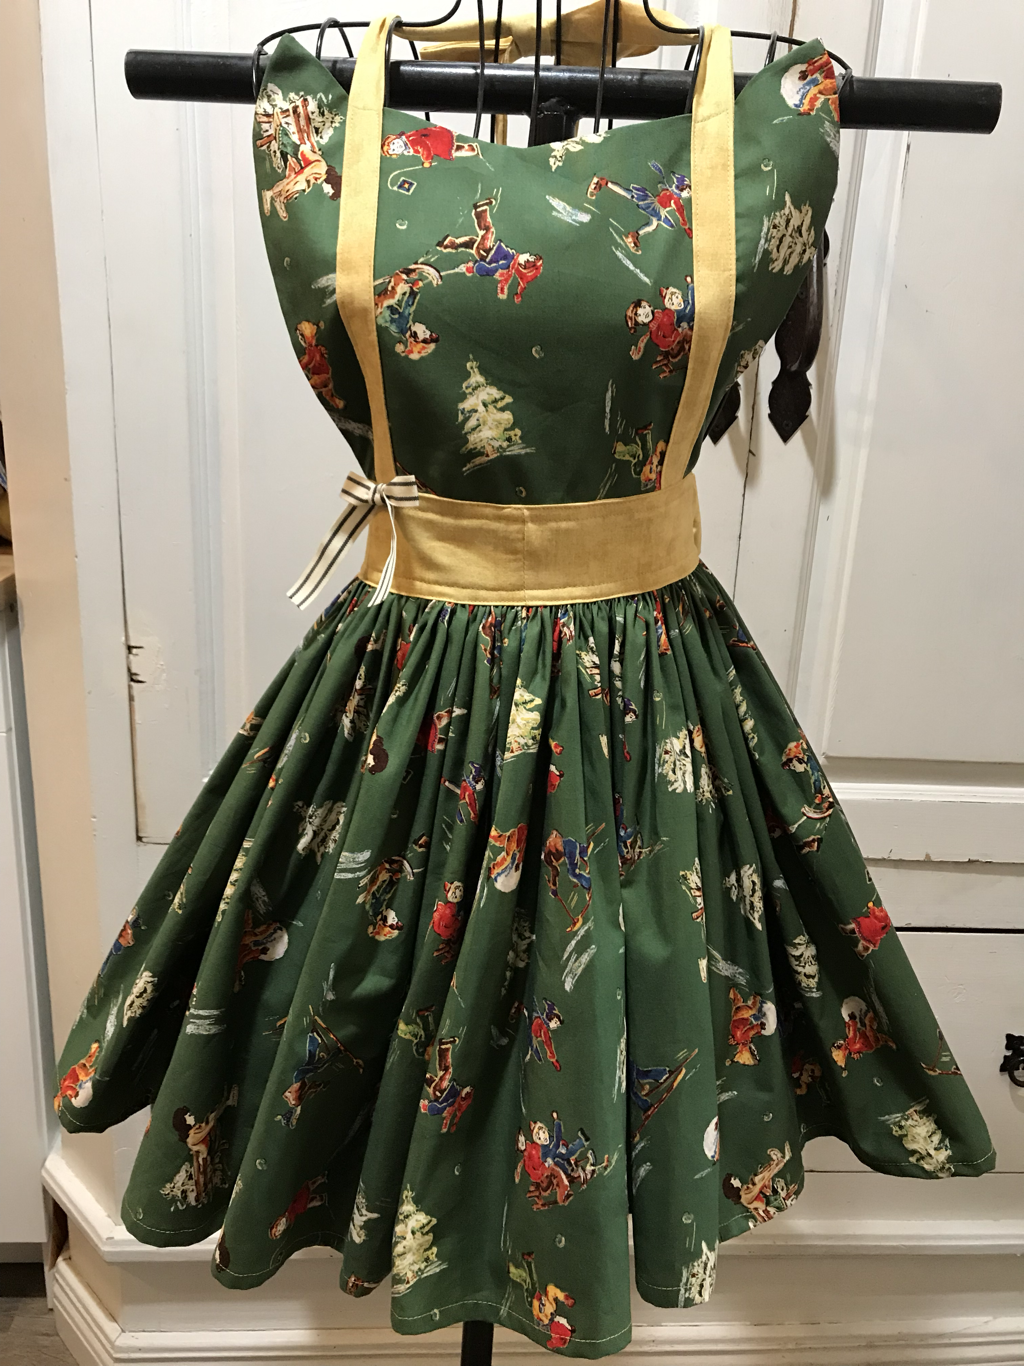
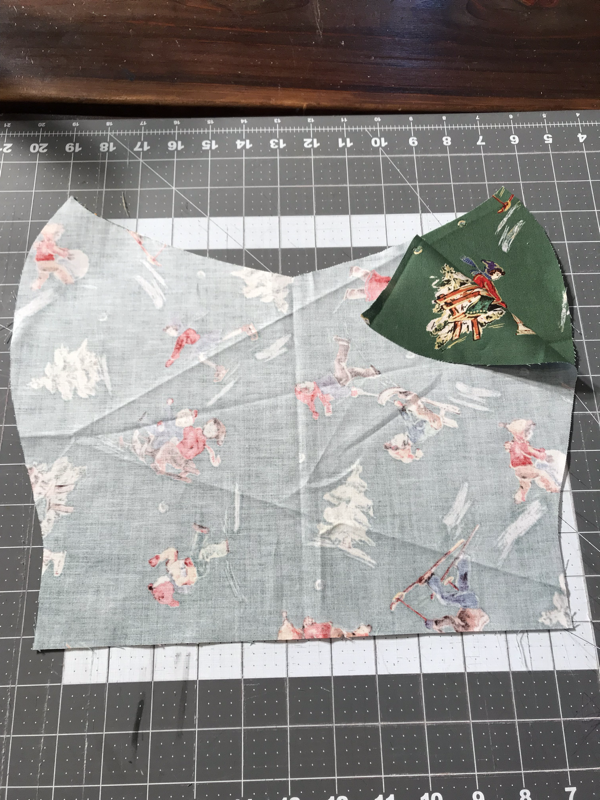
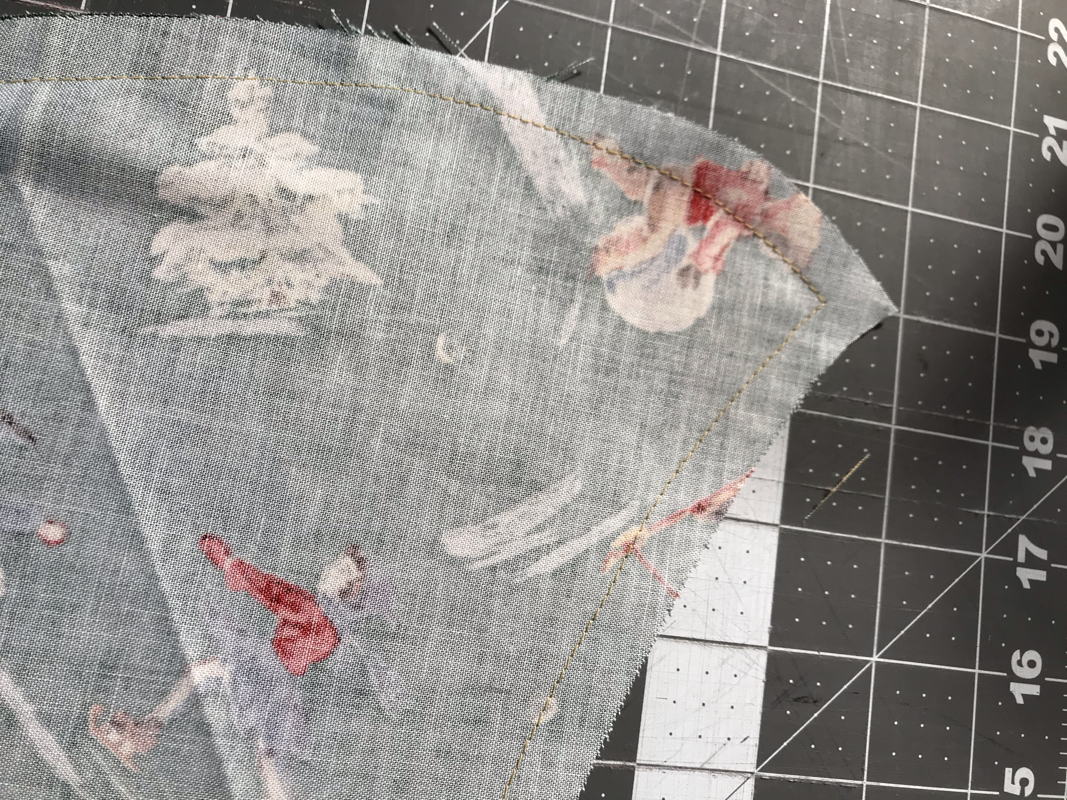
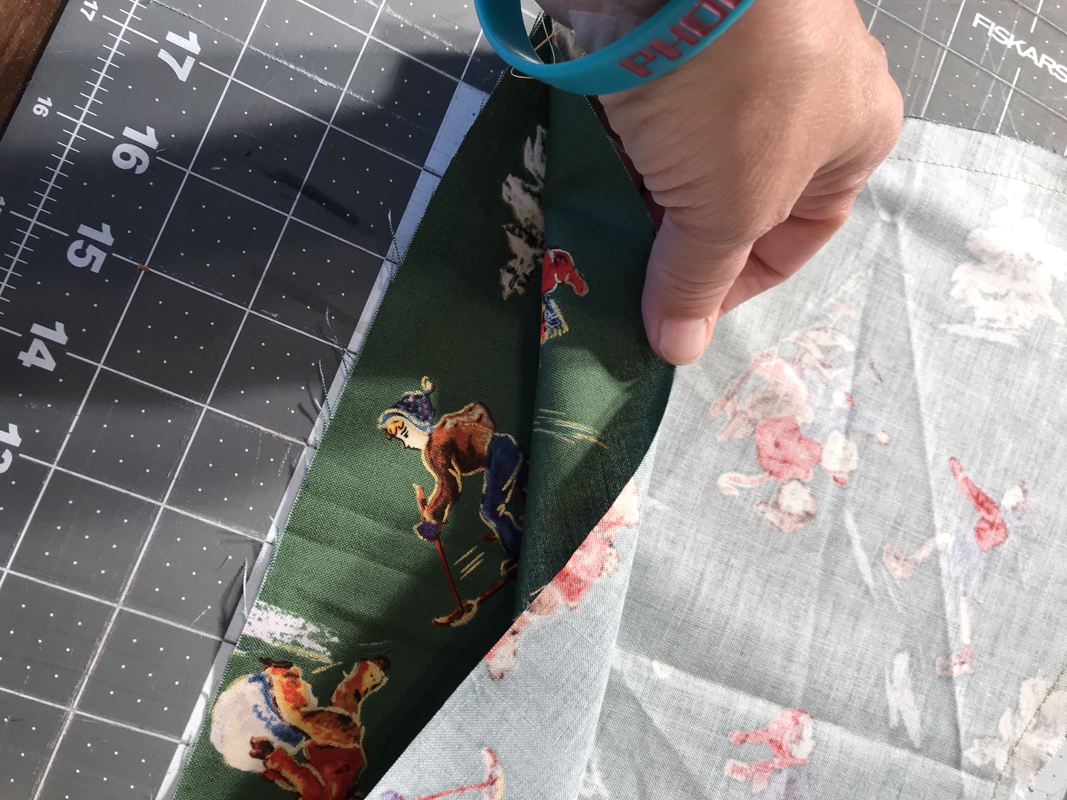
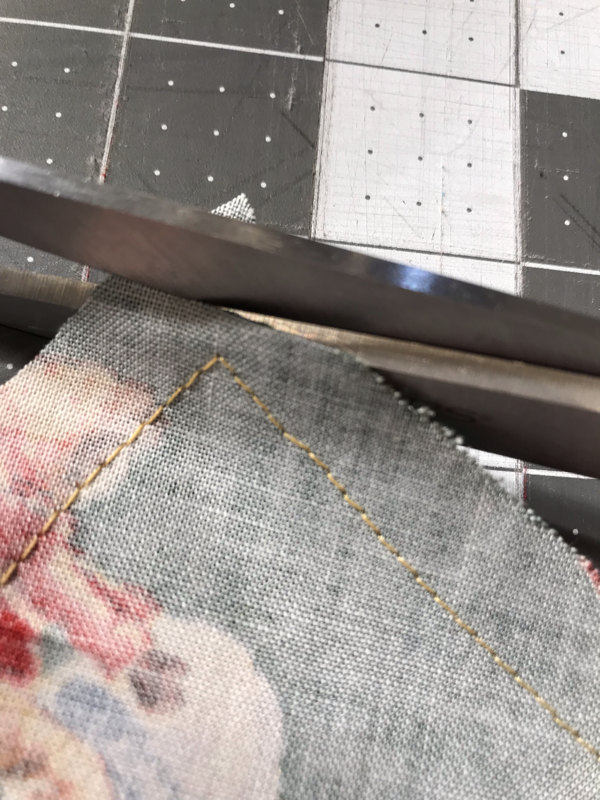
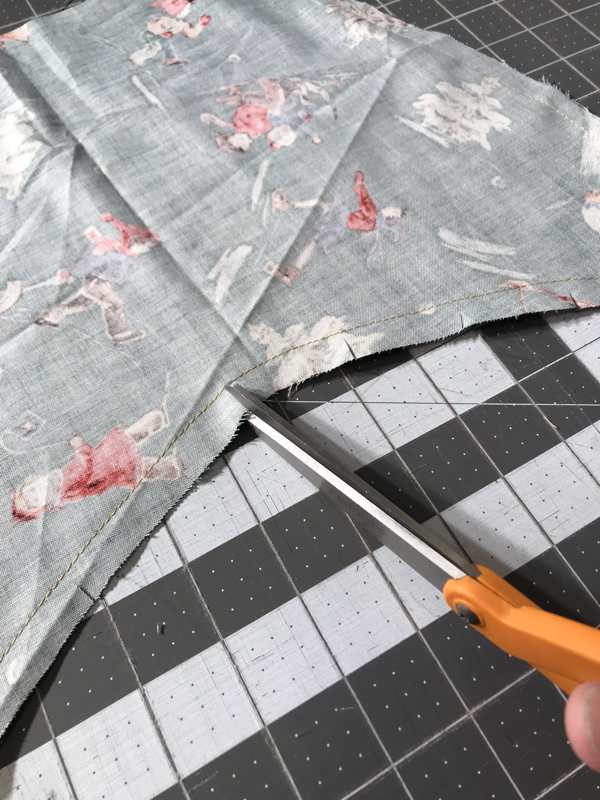
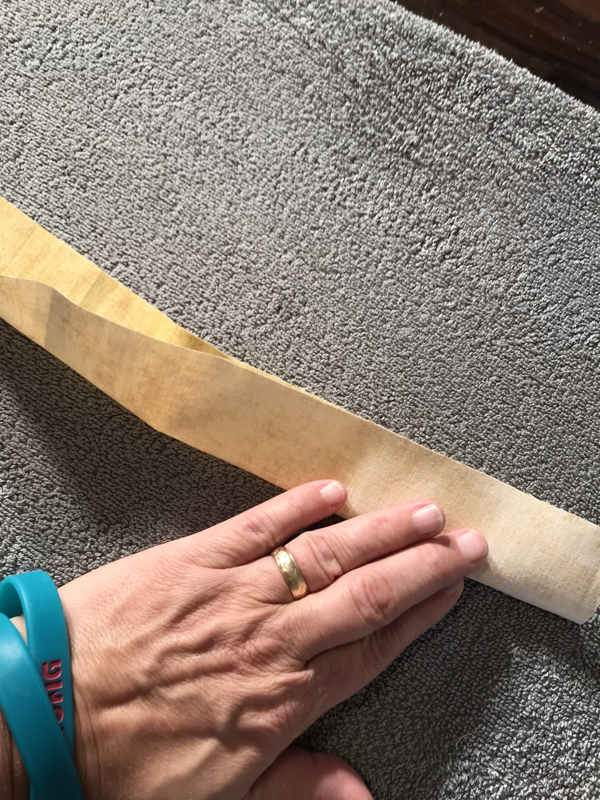
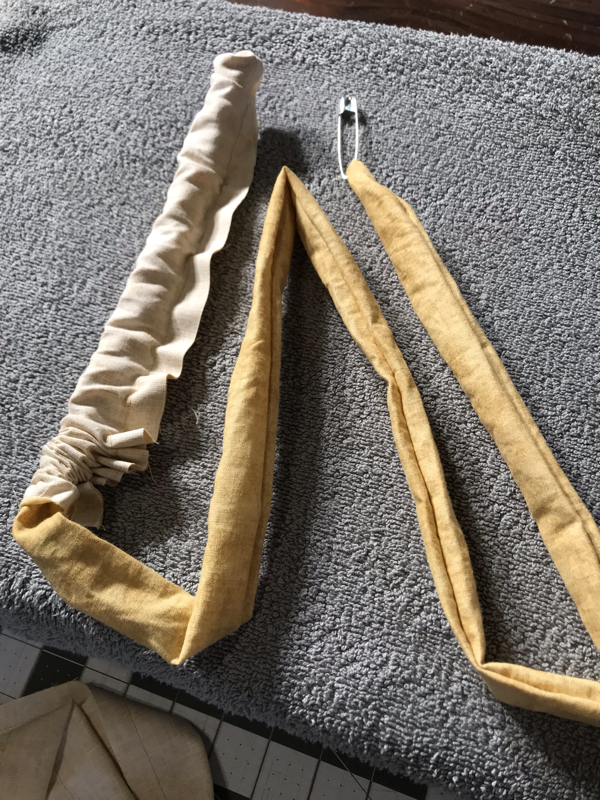
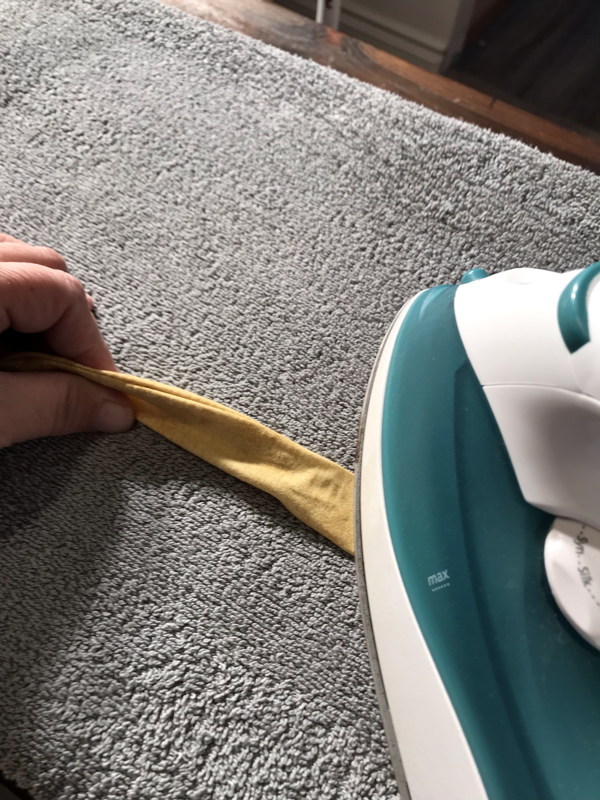
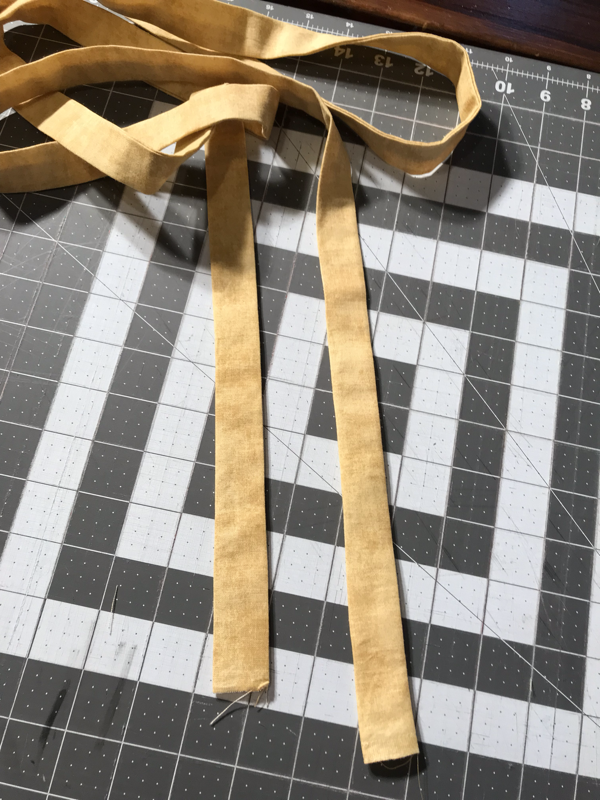
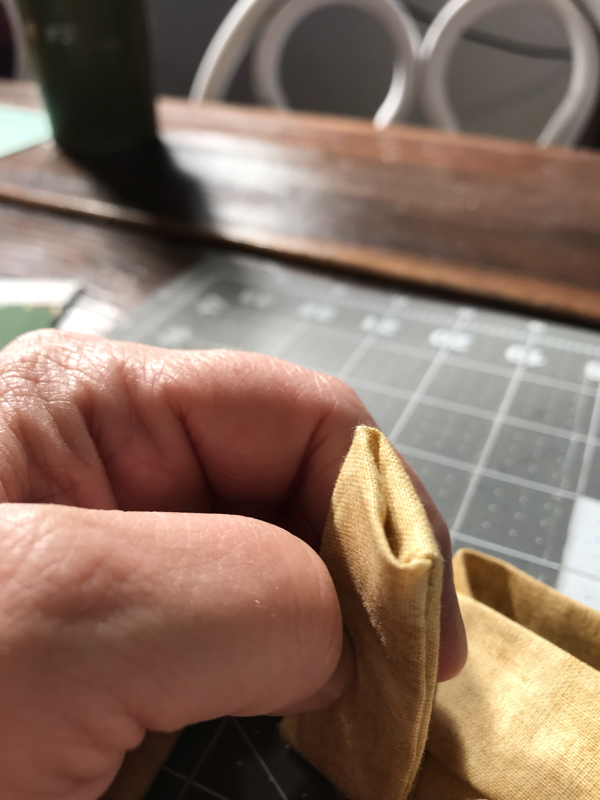
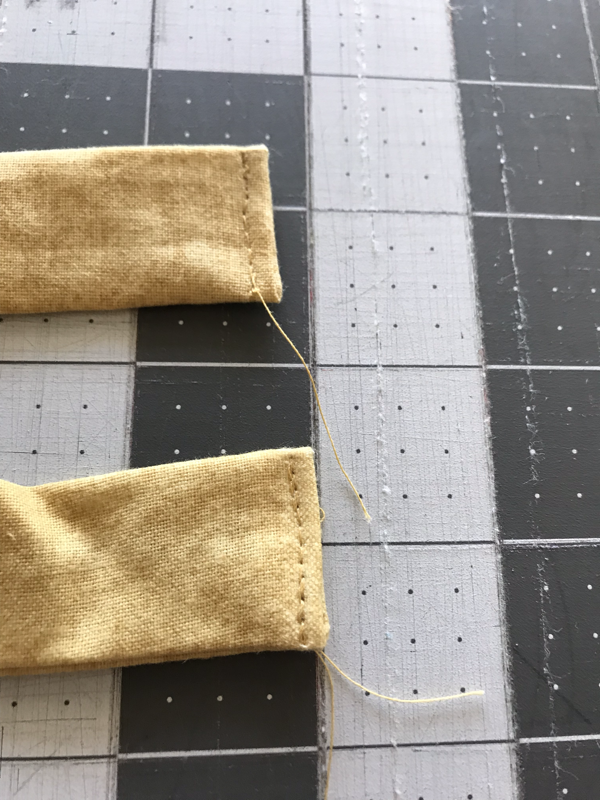
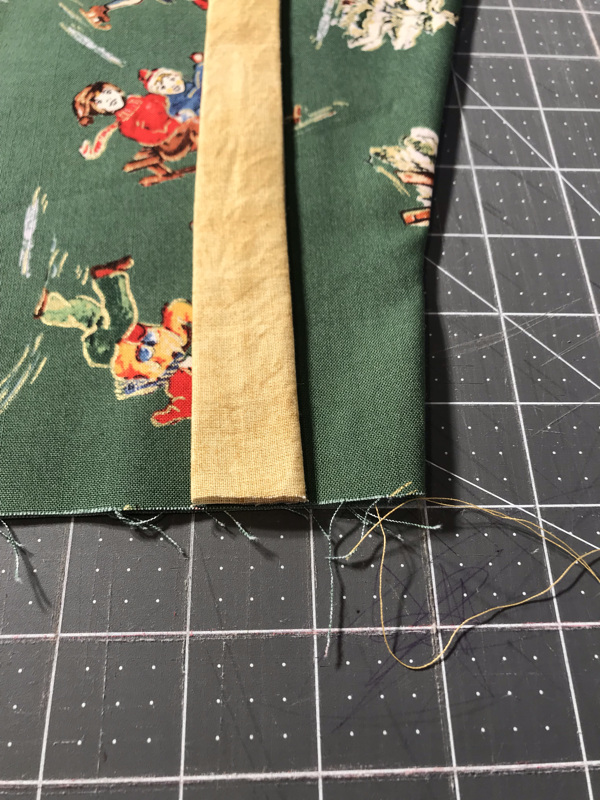
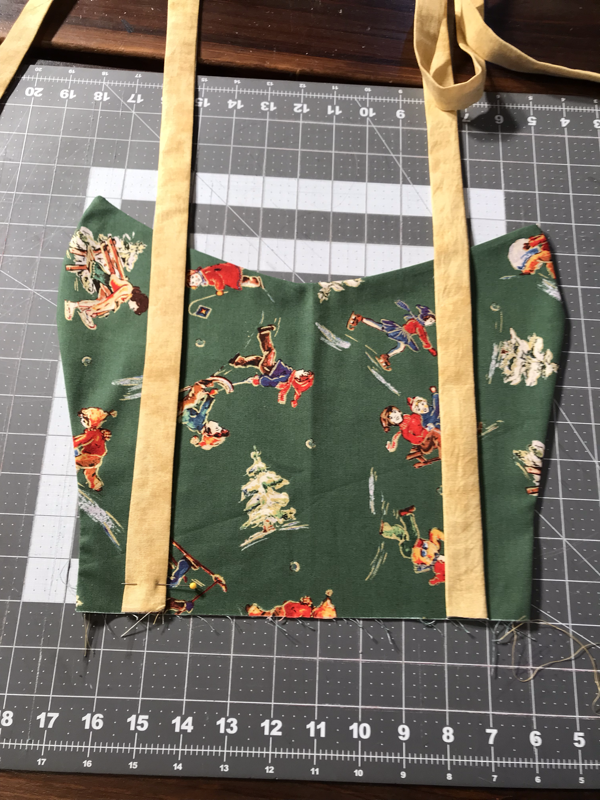
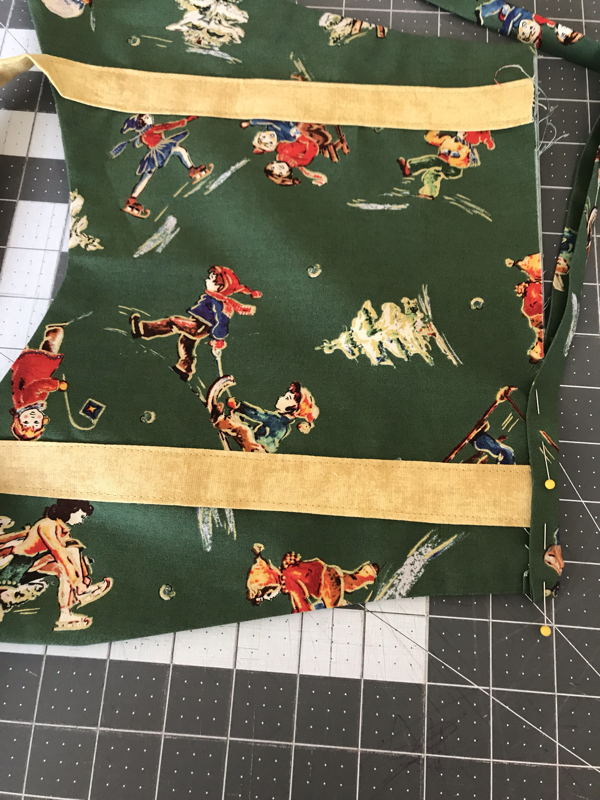
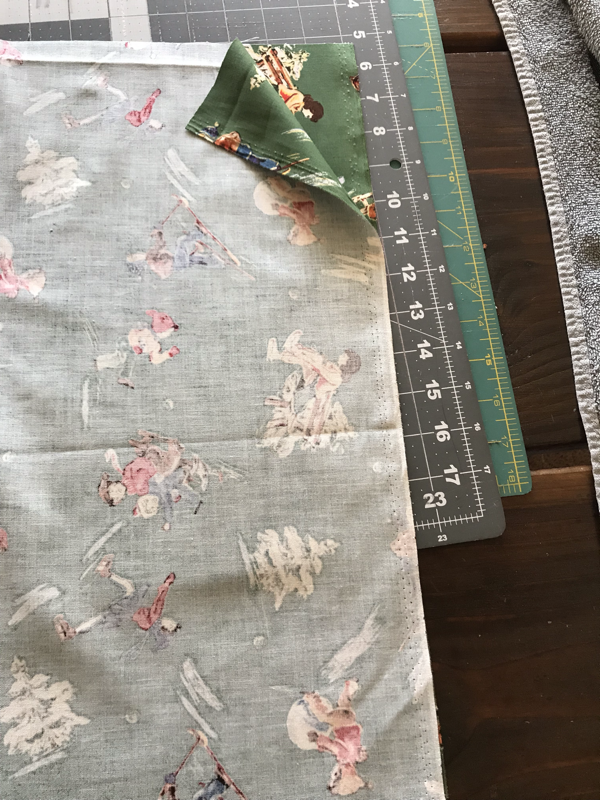
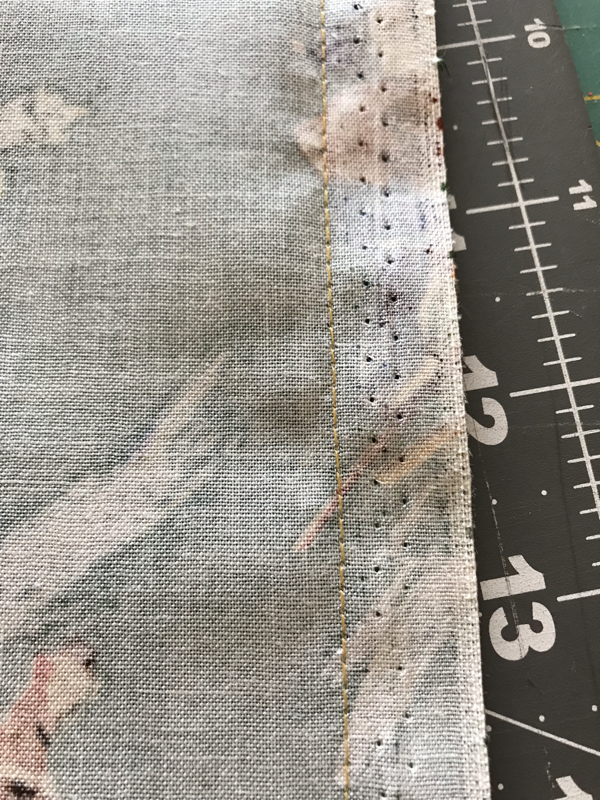
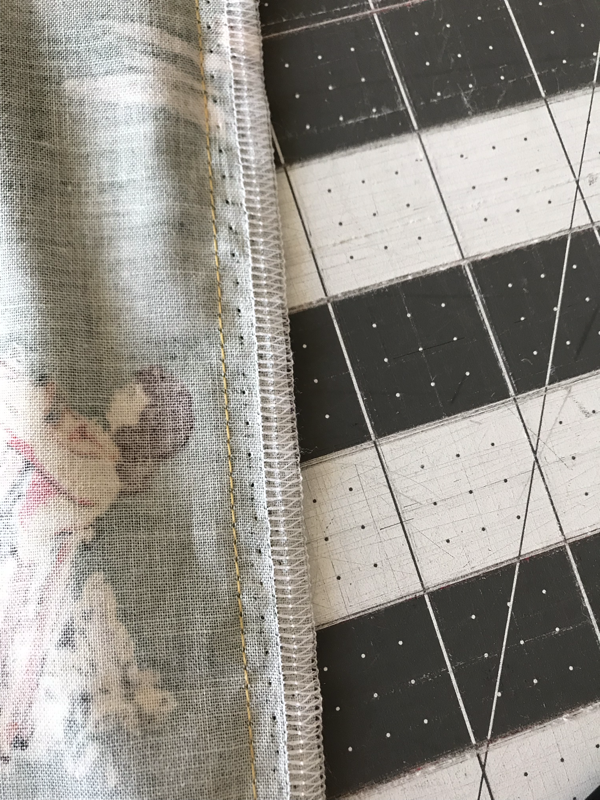
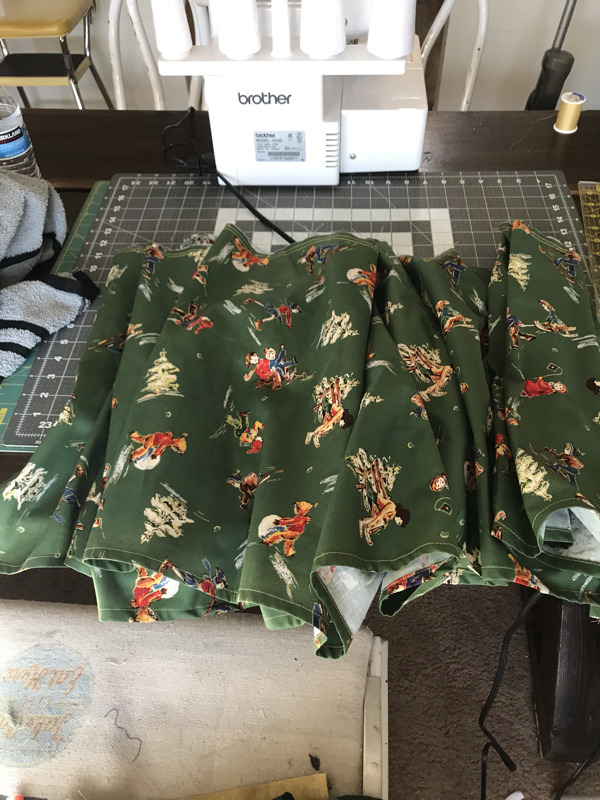
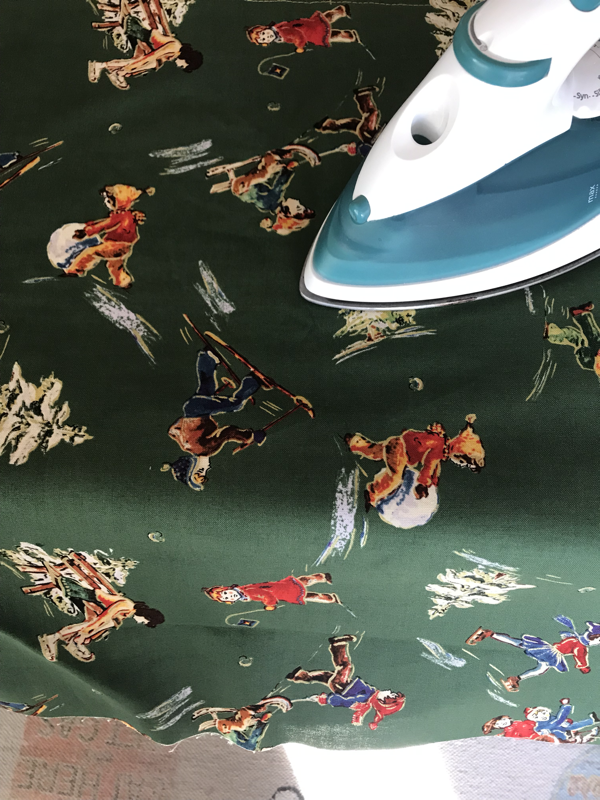
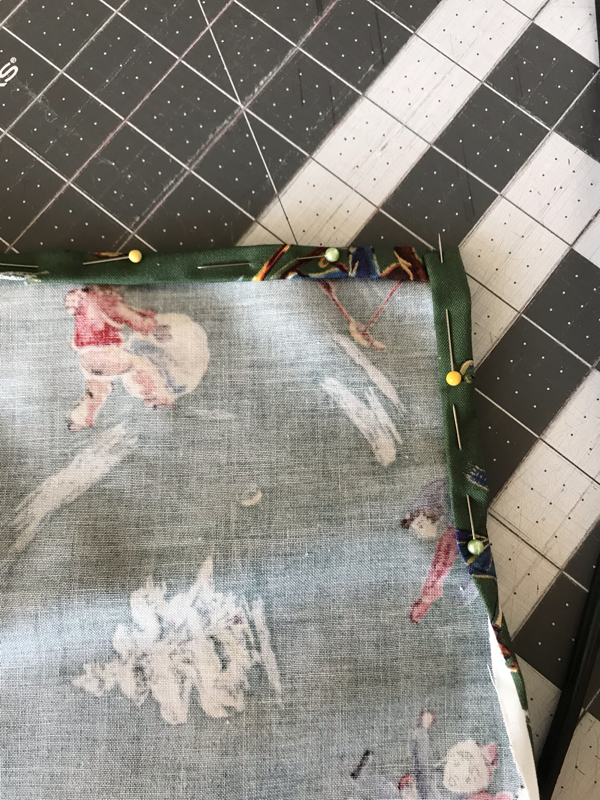
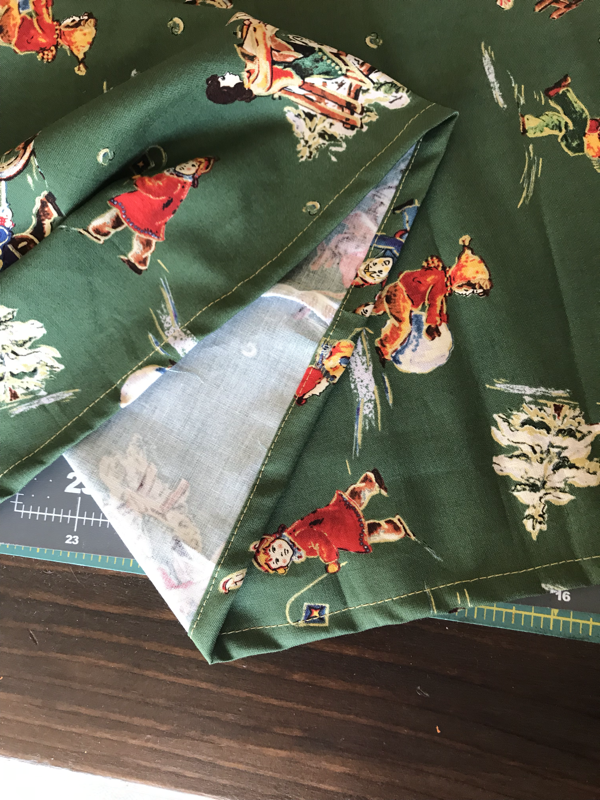
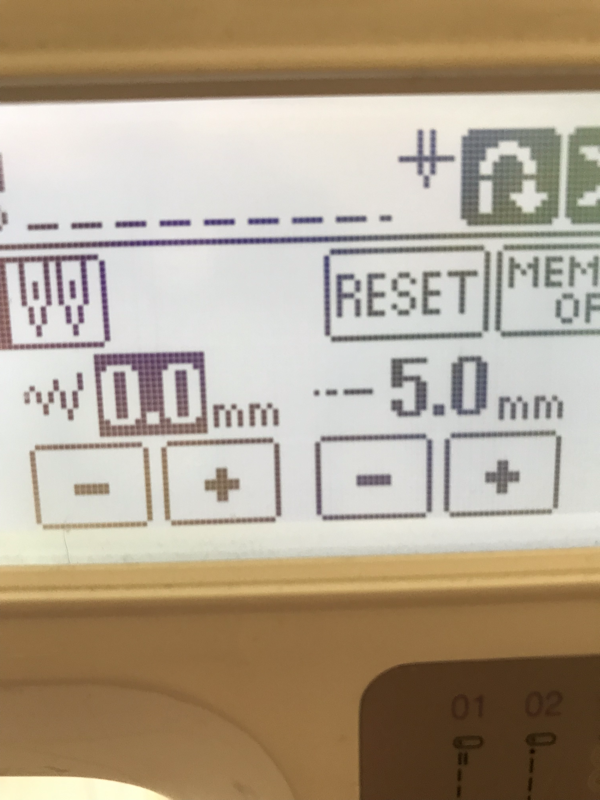
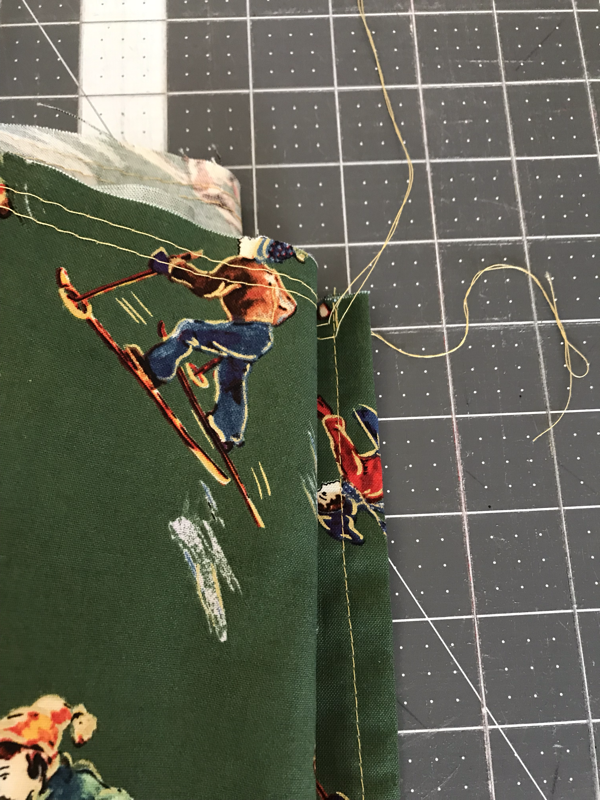
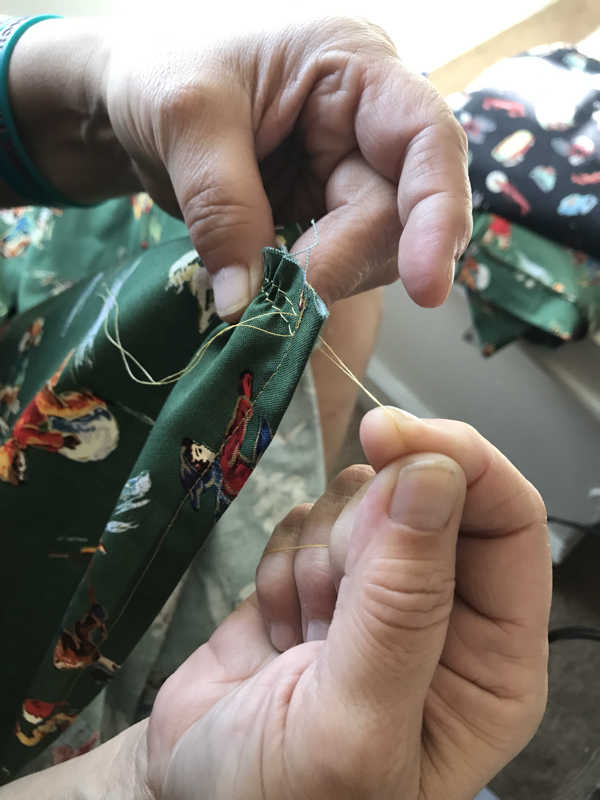
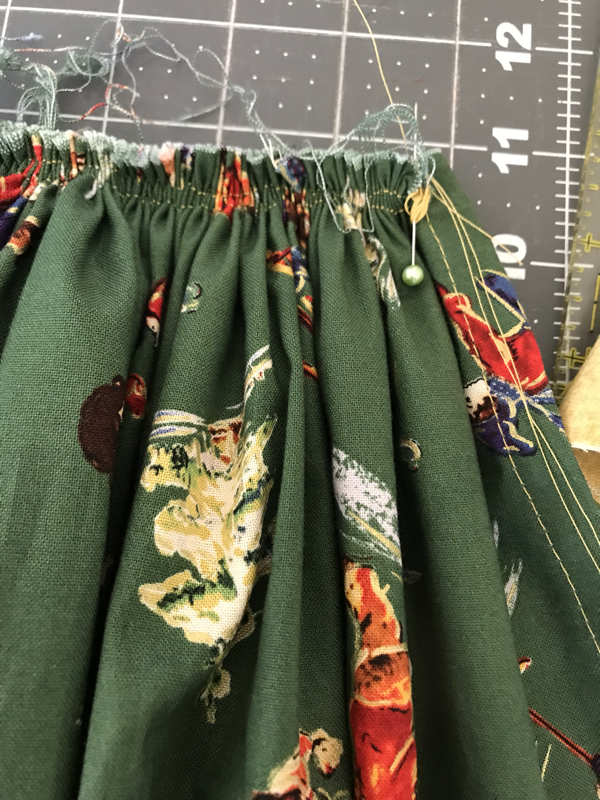
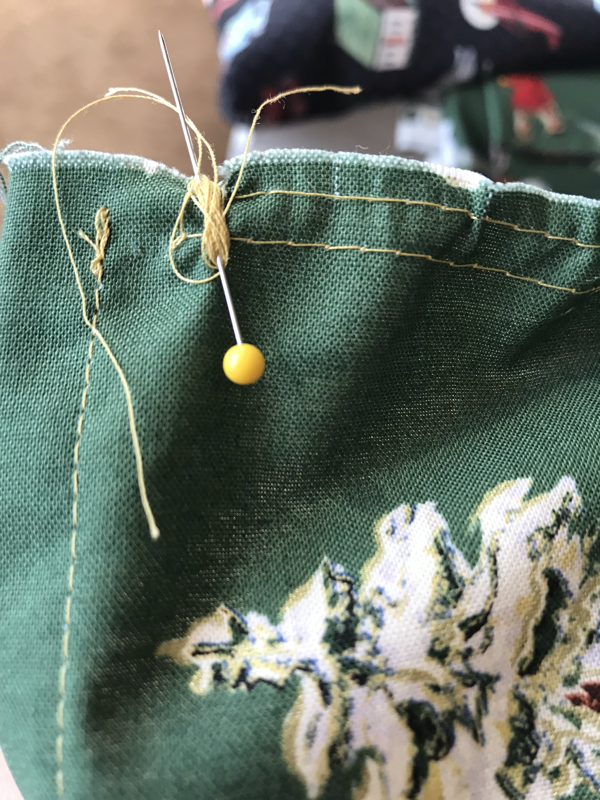
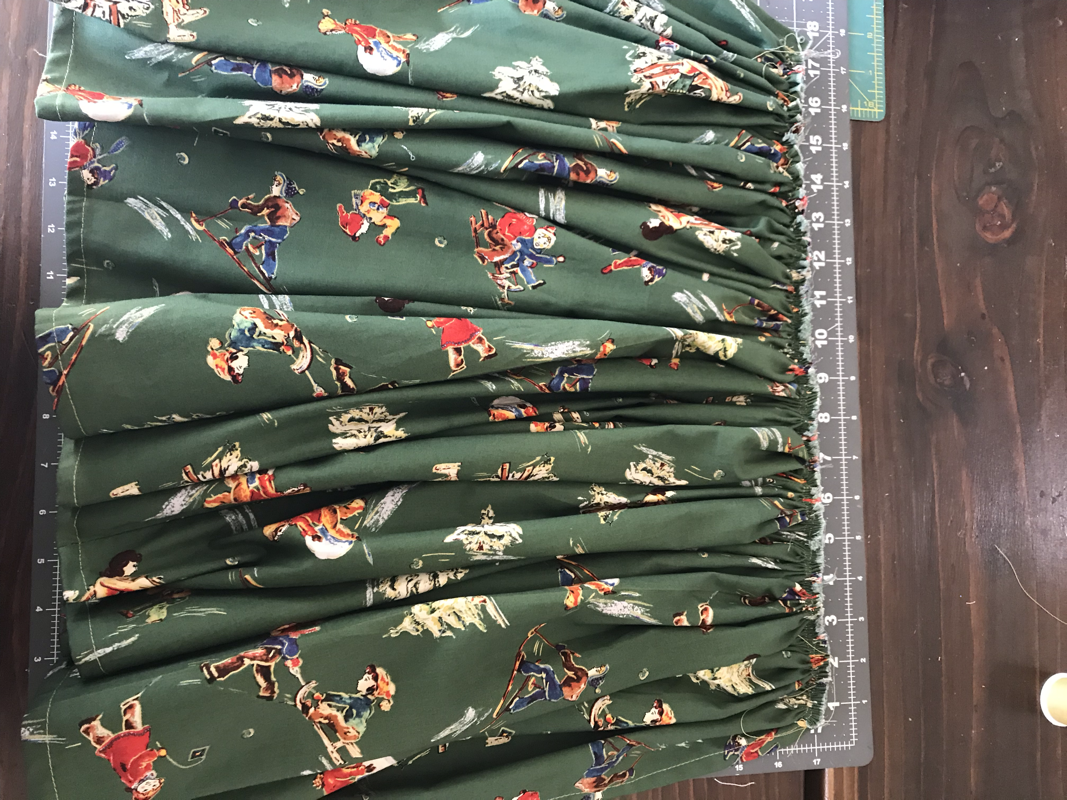
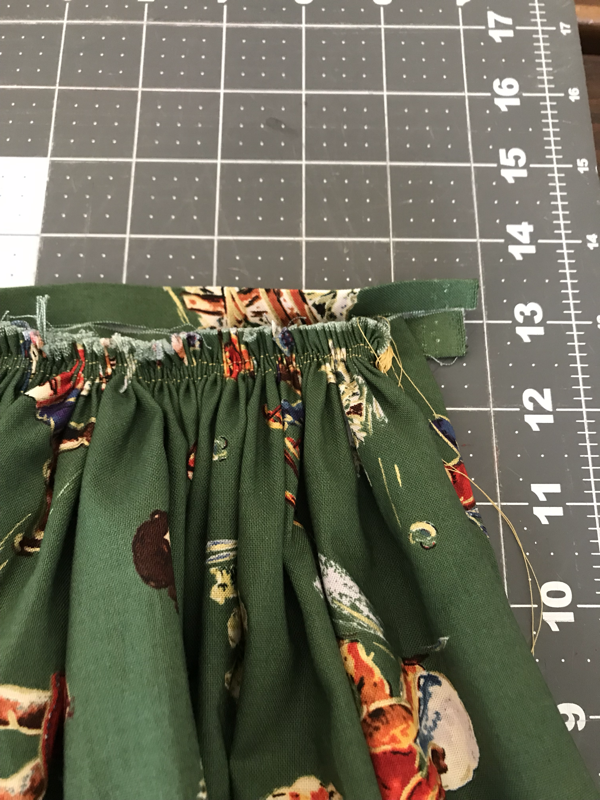
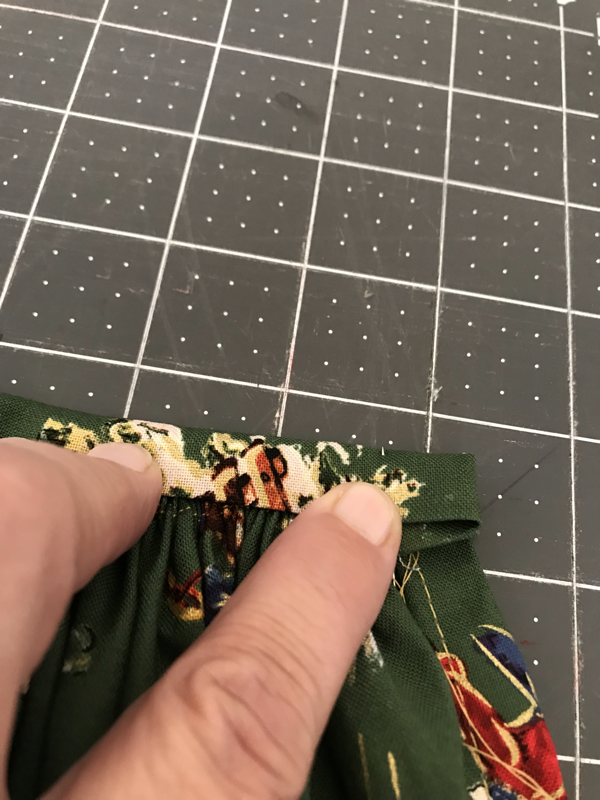
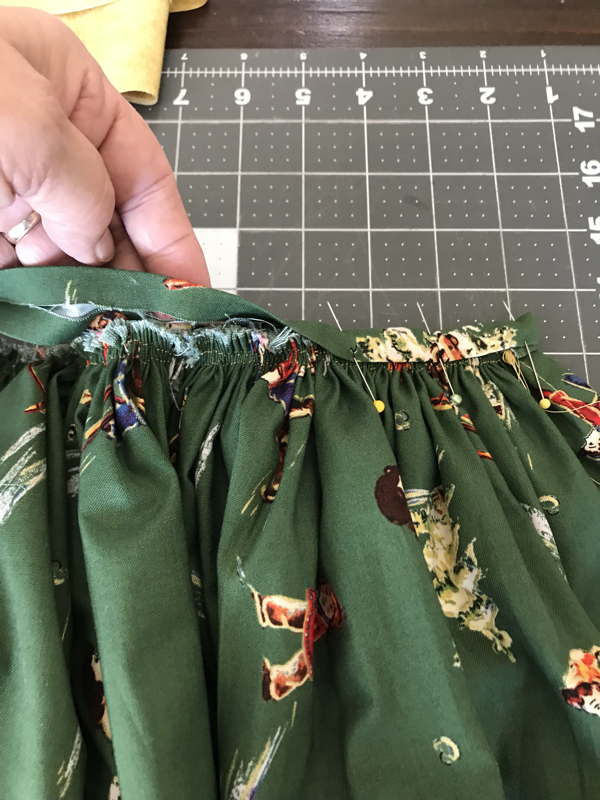
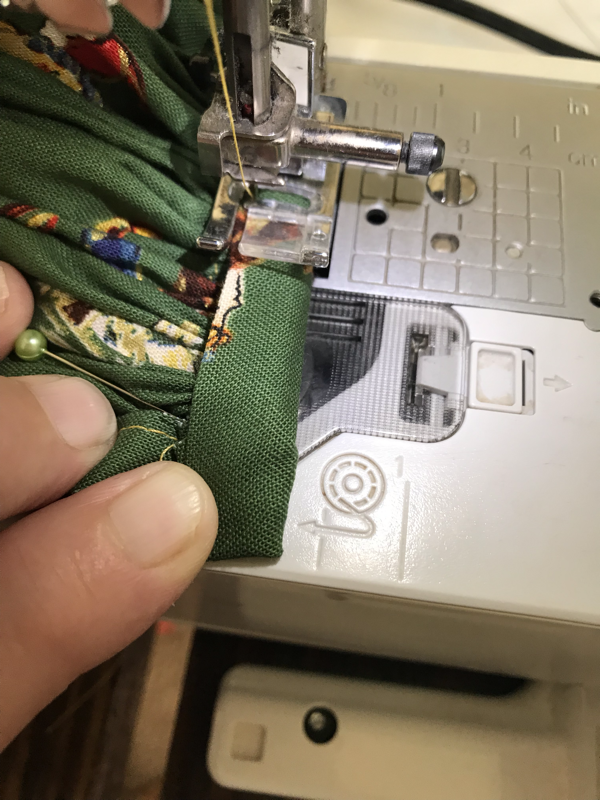
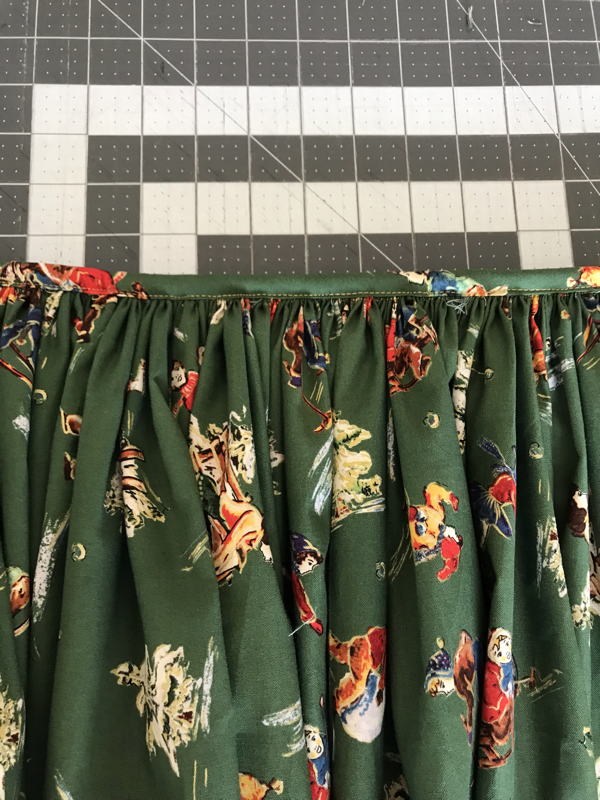
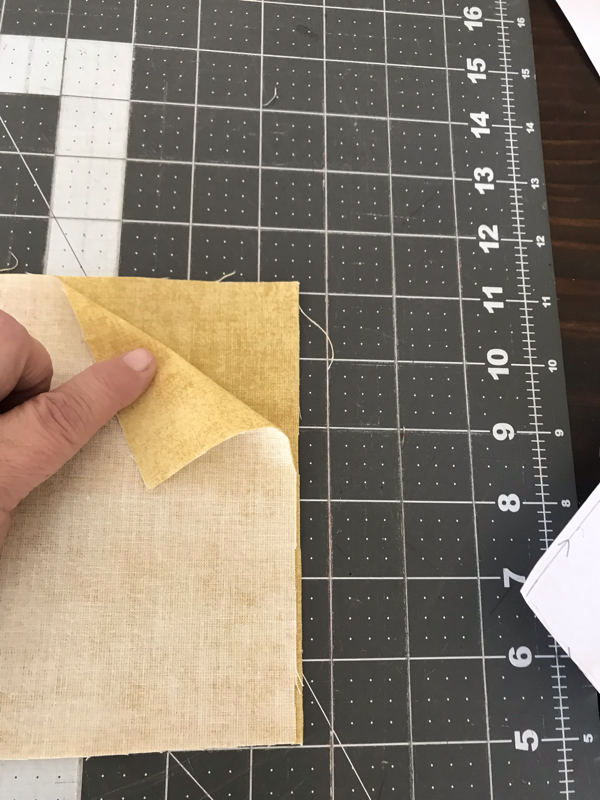
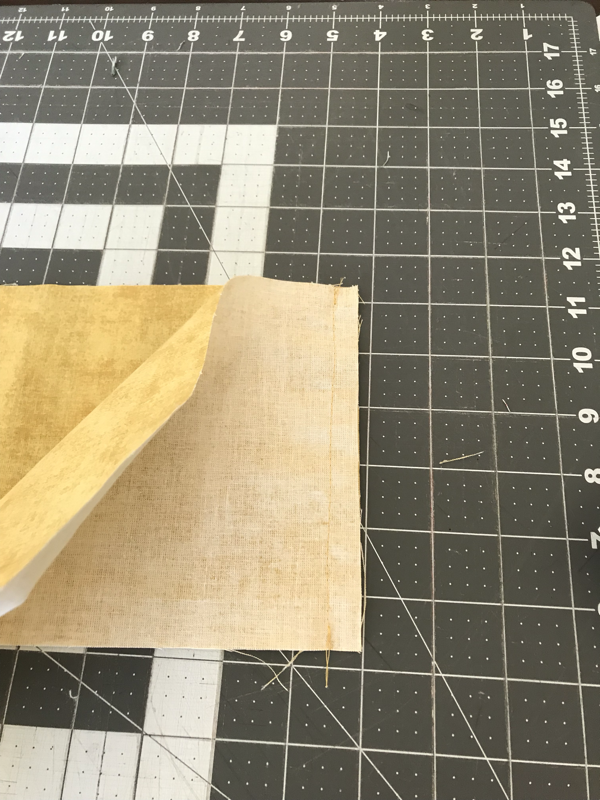
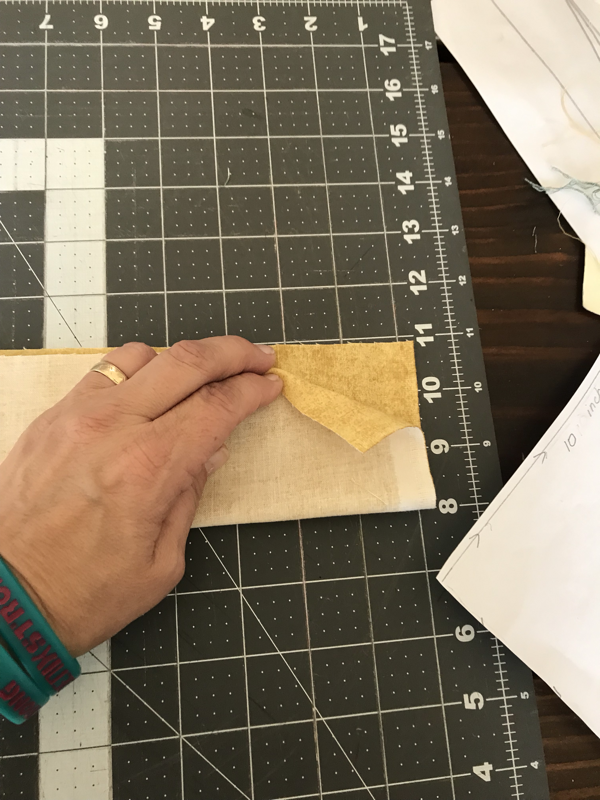
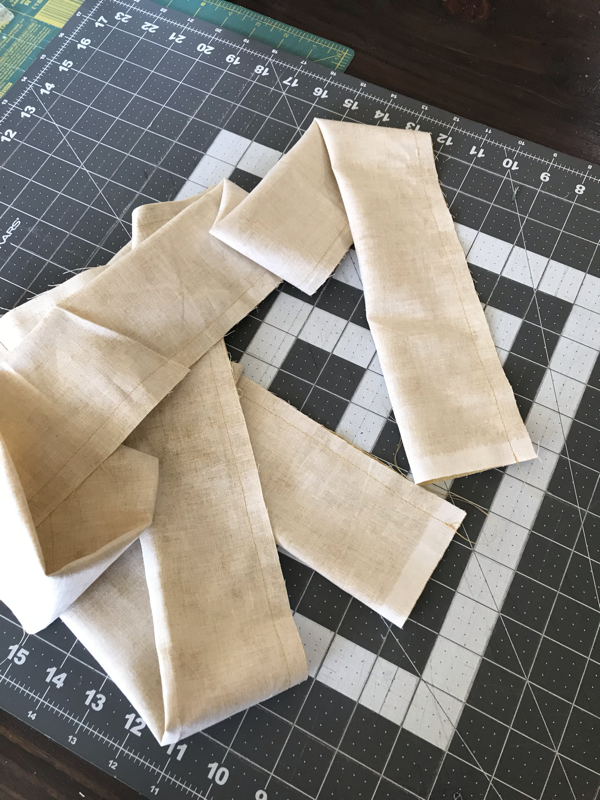
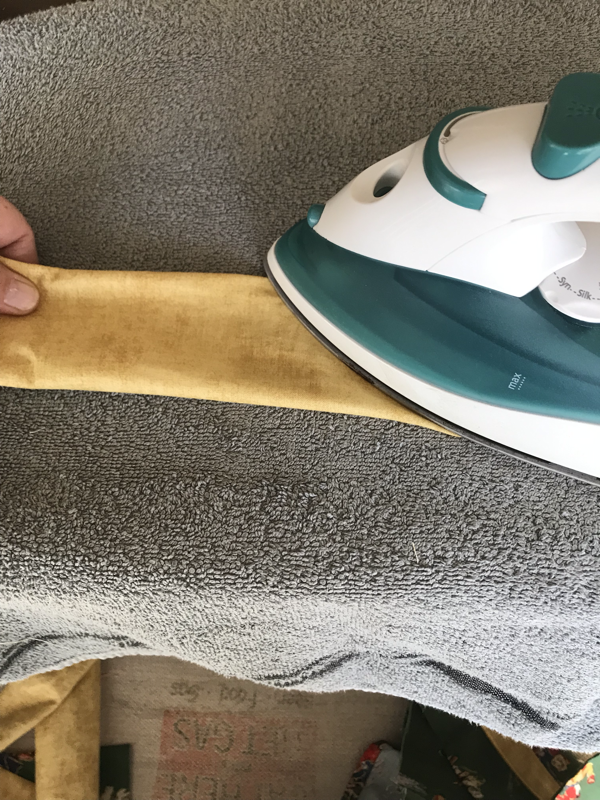
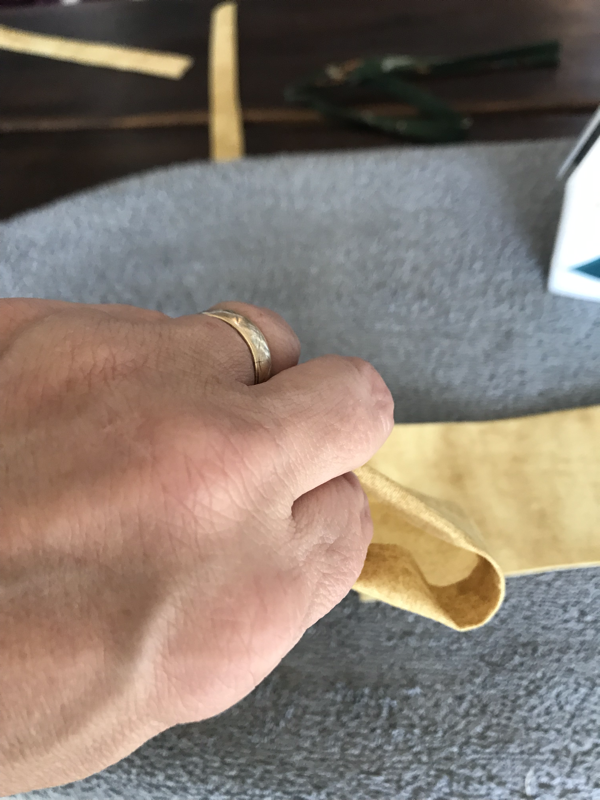
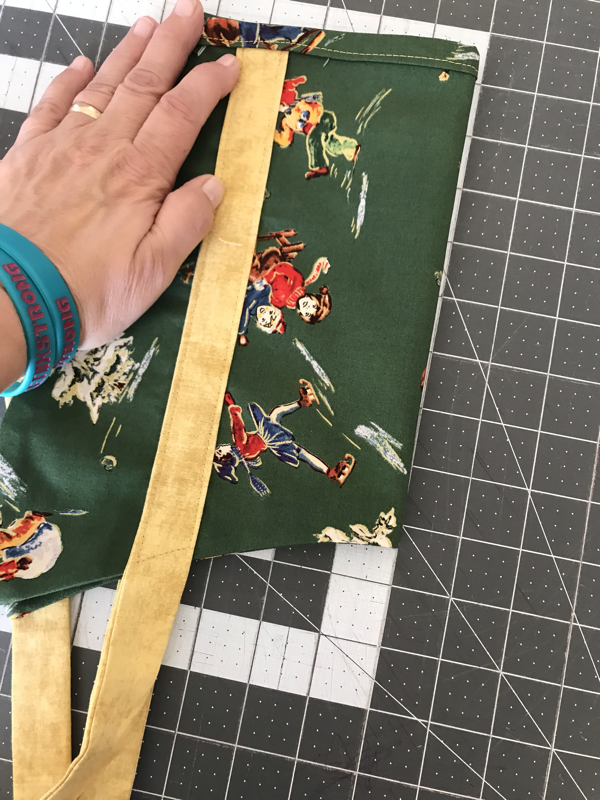
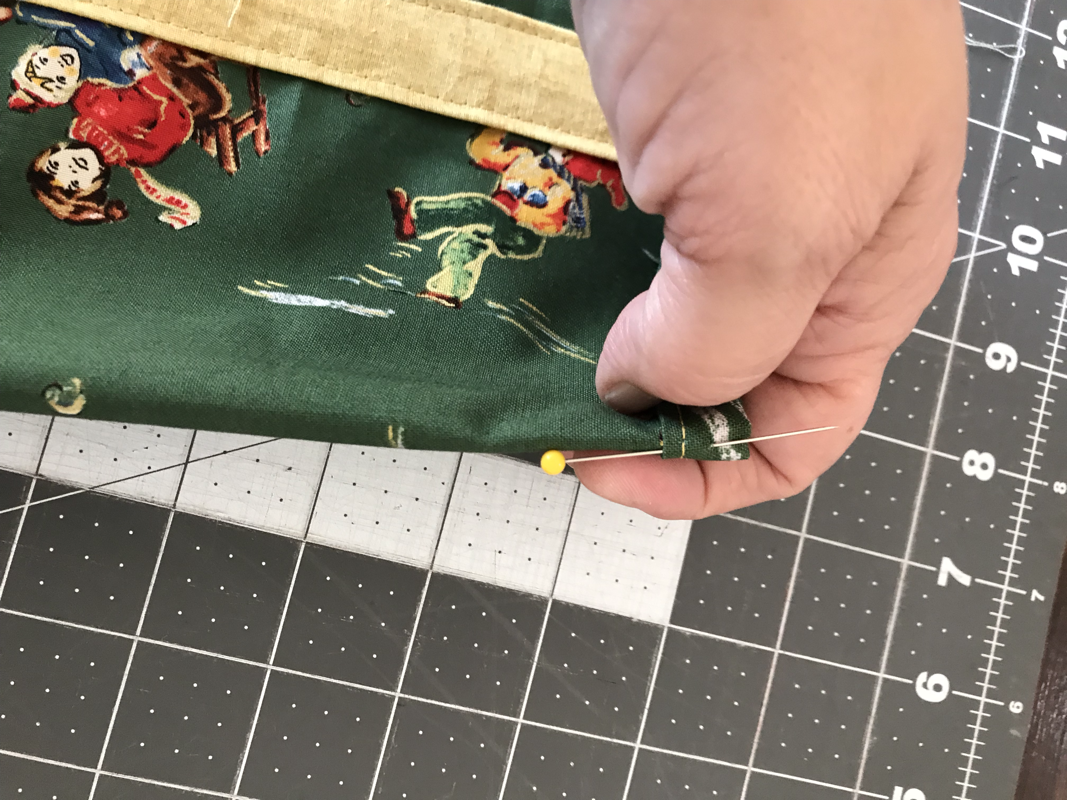
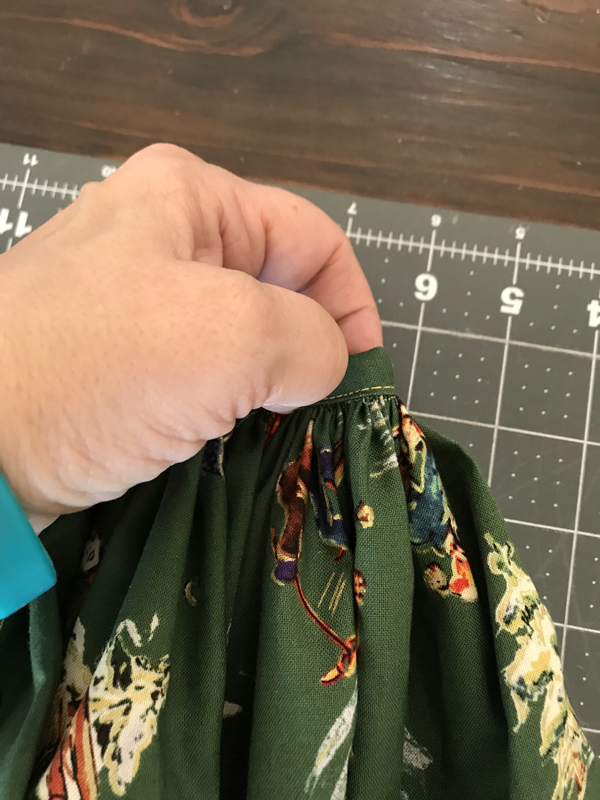
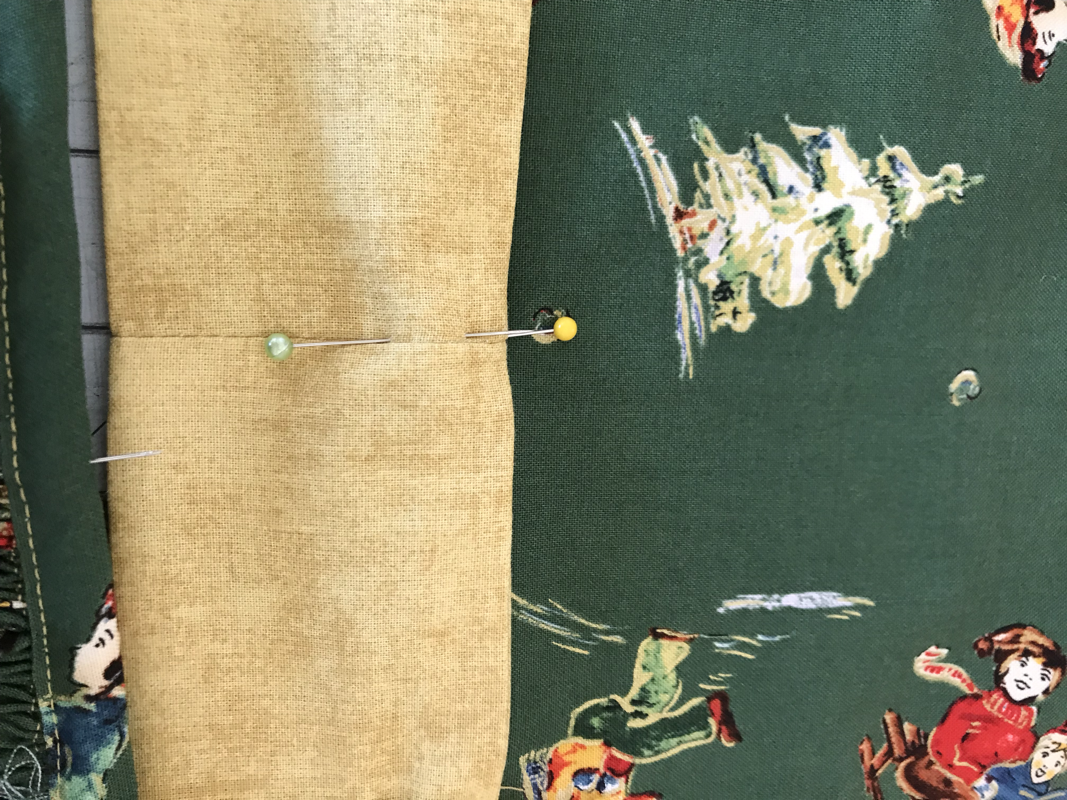
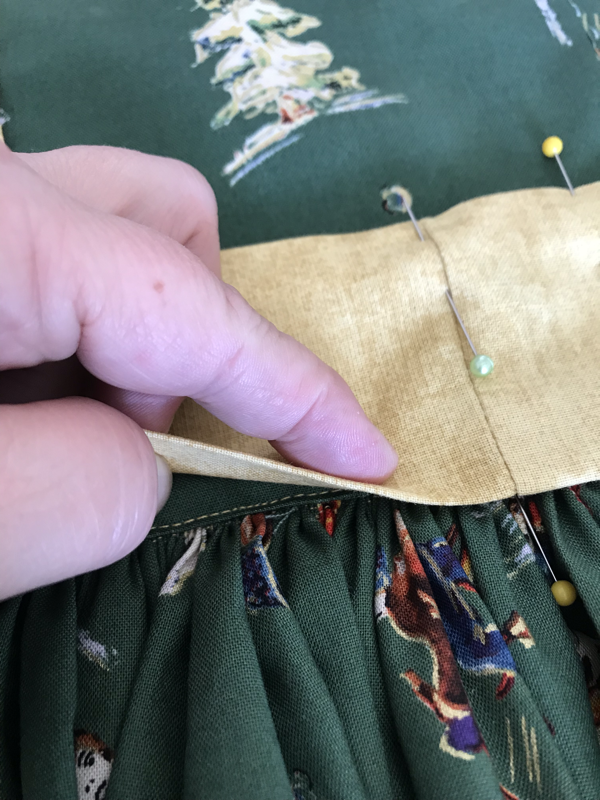
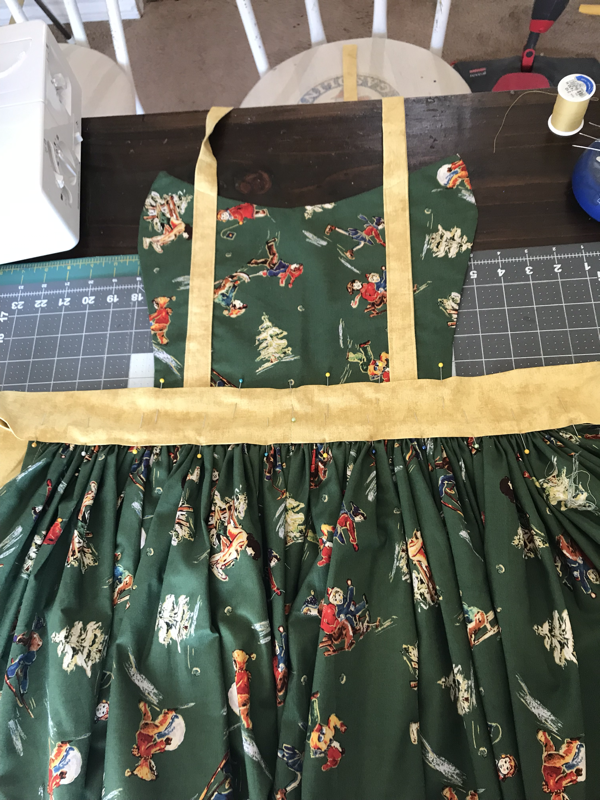
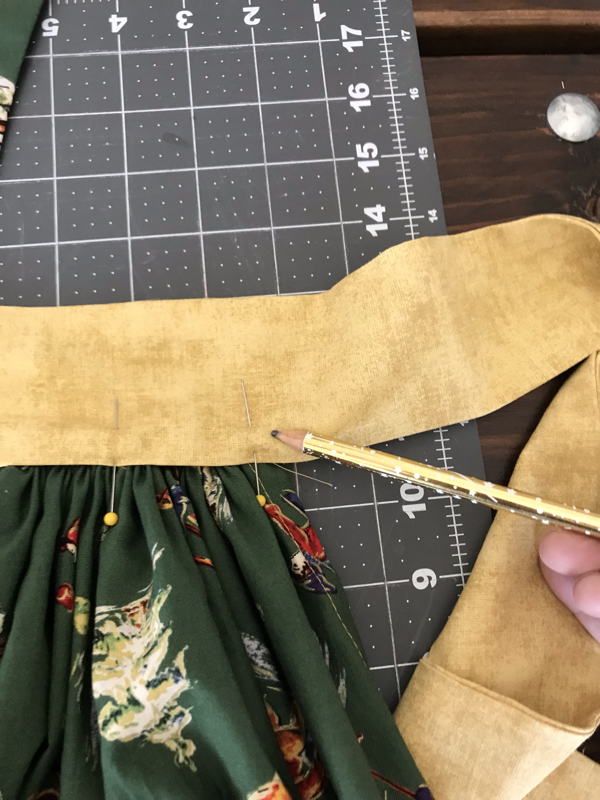
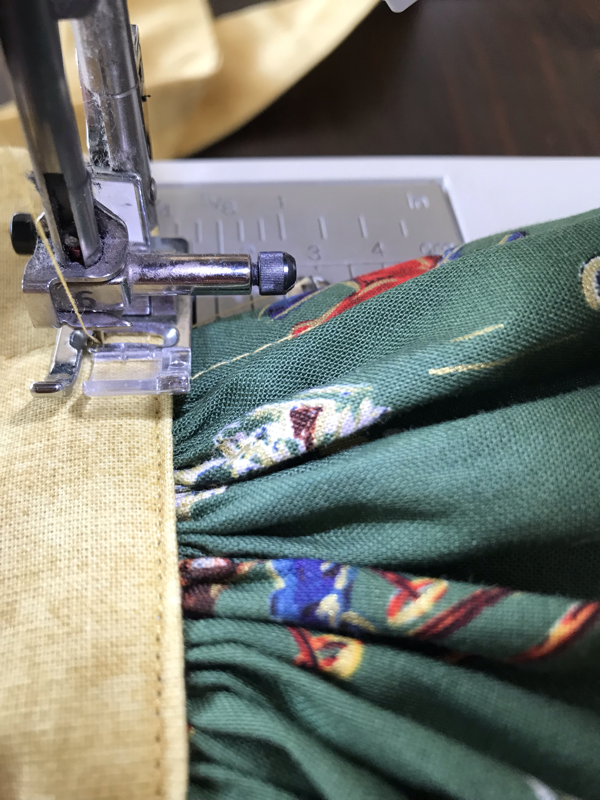
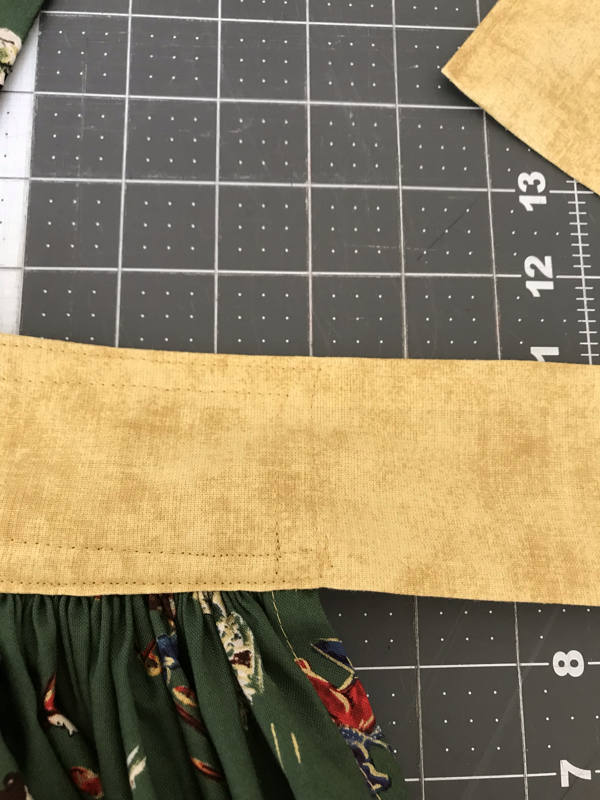
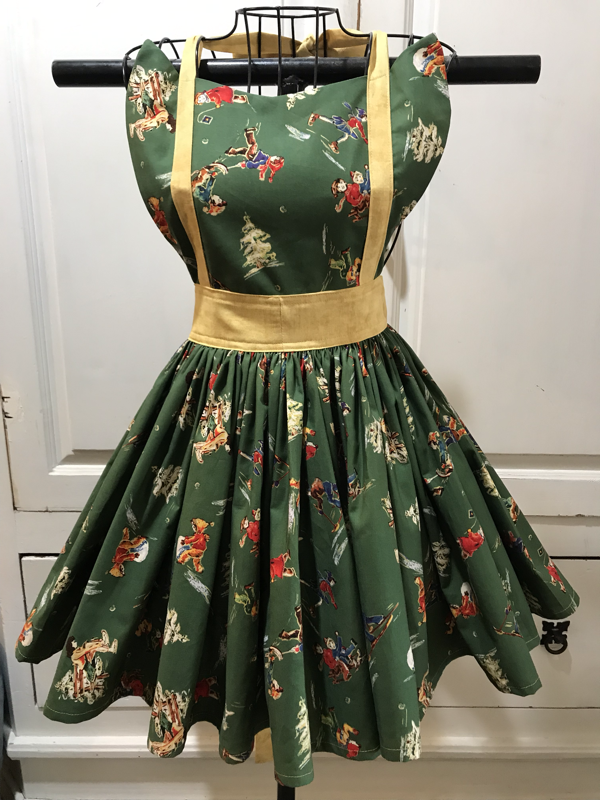
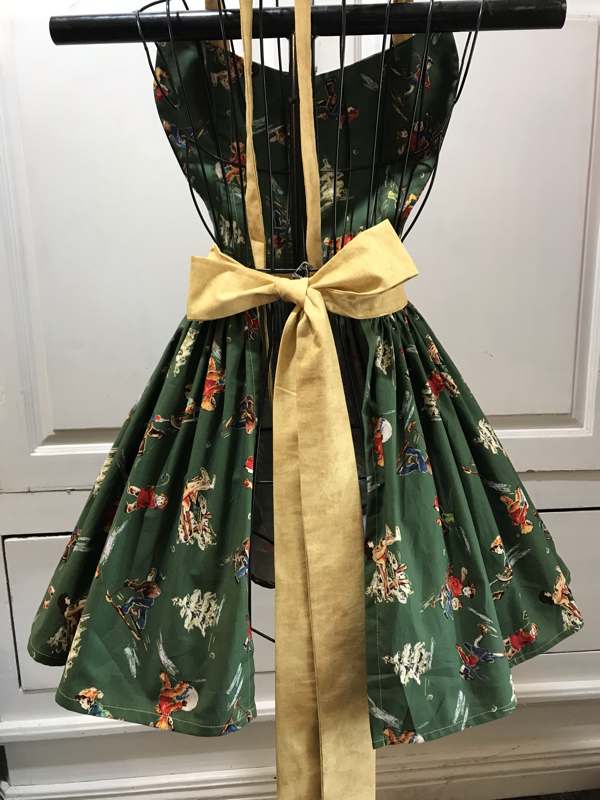
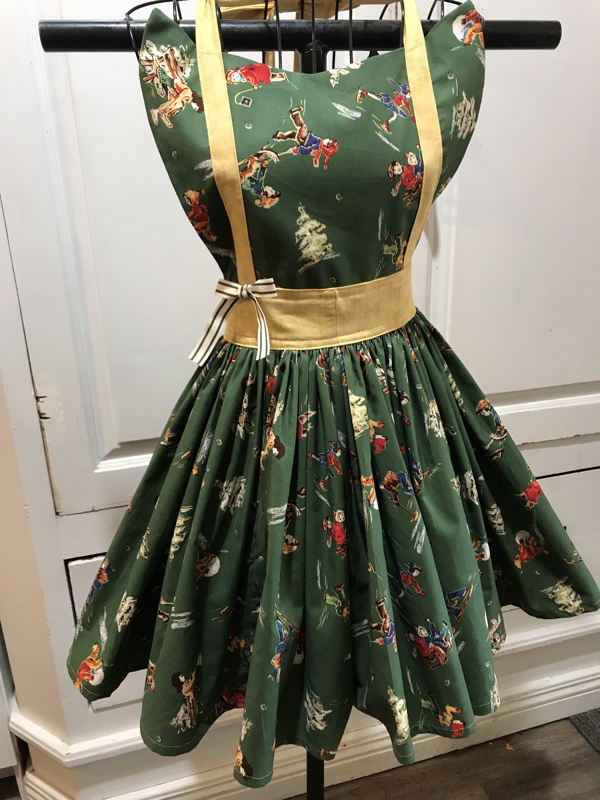
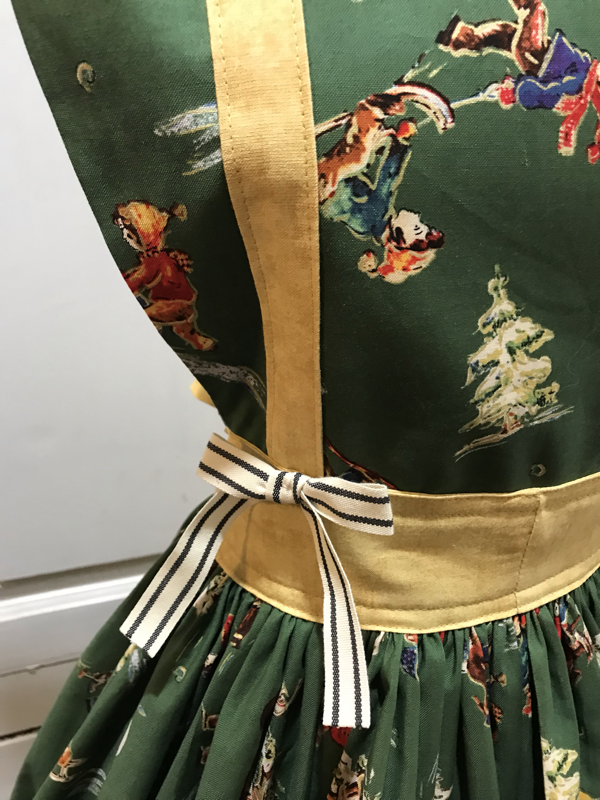
 This is going to be the 1st of many of my apron diy blogs. This first apron is my basic apron pattern. This particular apron has a naturally full skirt. If you have basic or advanced sewing skills give this apron a try. It takes about 3 hours to make. This apron I made as a gift for a special person. She does a lot for kids and her favorite color is green. Making an apron personal is a must, thus our fabric selection. Keep in mind to use a high quality cotton fabric and thread. Your apron will hold its shape better and last for generations. This special person has two young boys who love to help her in the kitchen, so we included two coordinating boy aprons. I’ll share that tutorial in a later blog. She loved her gift! My oldest daughter and I have designed, created and sold 100’s of aprons. We were very busy with our online shop and outside sales. As sales and custom orders were rolling in we had to make a tough decision to close our shop and stop receiving outside orders. Our world was turned upside down as we received the cancer diagnosis of my youngest granddaughter, my daughters youngest daughter. Although we no longer have the time to fill apron orders, I thought I could share our pattern creations for you to create. Who knows, maybe even start your own apron business. The first apron is our basic apron. It was a big seller. Depending on the cost of the fabric, we sold them between $25 and $35. Throughout out my apron blogs, I’m going to share many of our popular aprons. Our clientele ranged from moms, chefs, hairdressers, market vendors, cosplayers, brides, bridesmaids and the list goes on. We’ve created family aprons for Christmas pictures, bridal party aprons, his and her aprons, mommy and me aprons, special gifts, hostess aprons, again the list goes on. Below is a small sample of our creations. 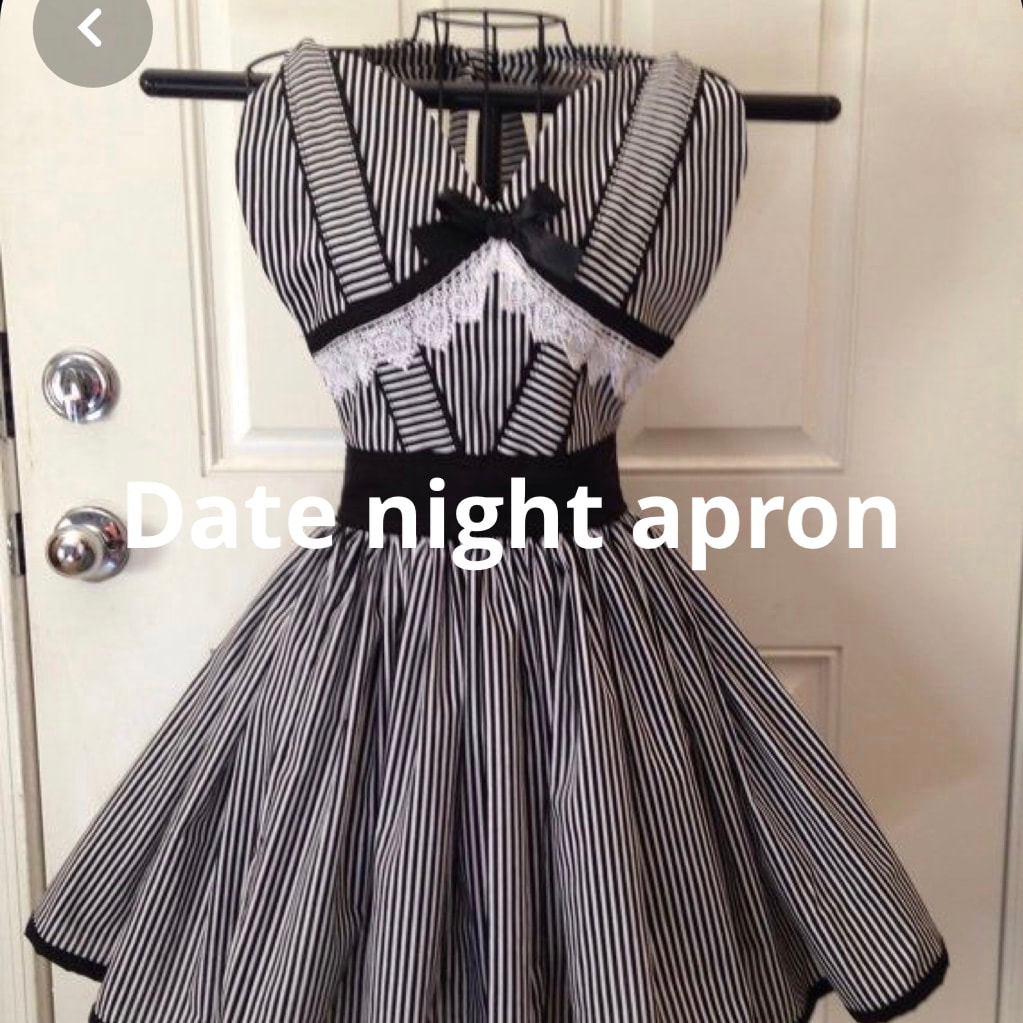 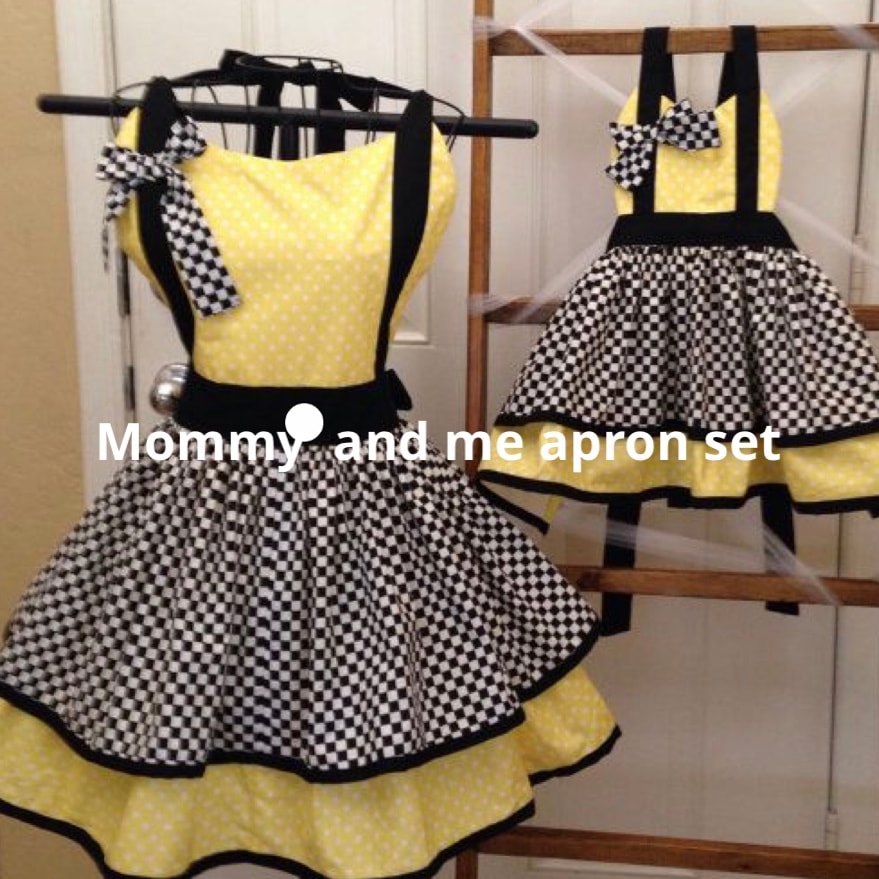 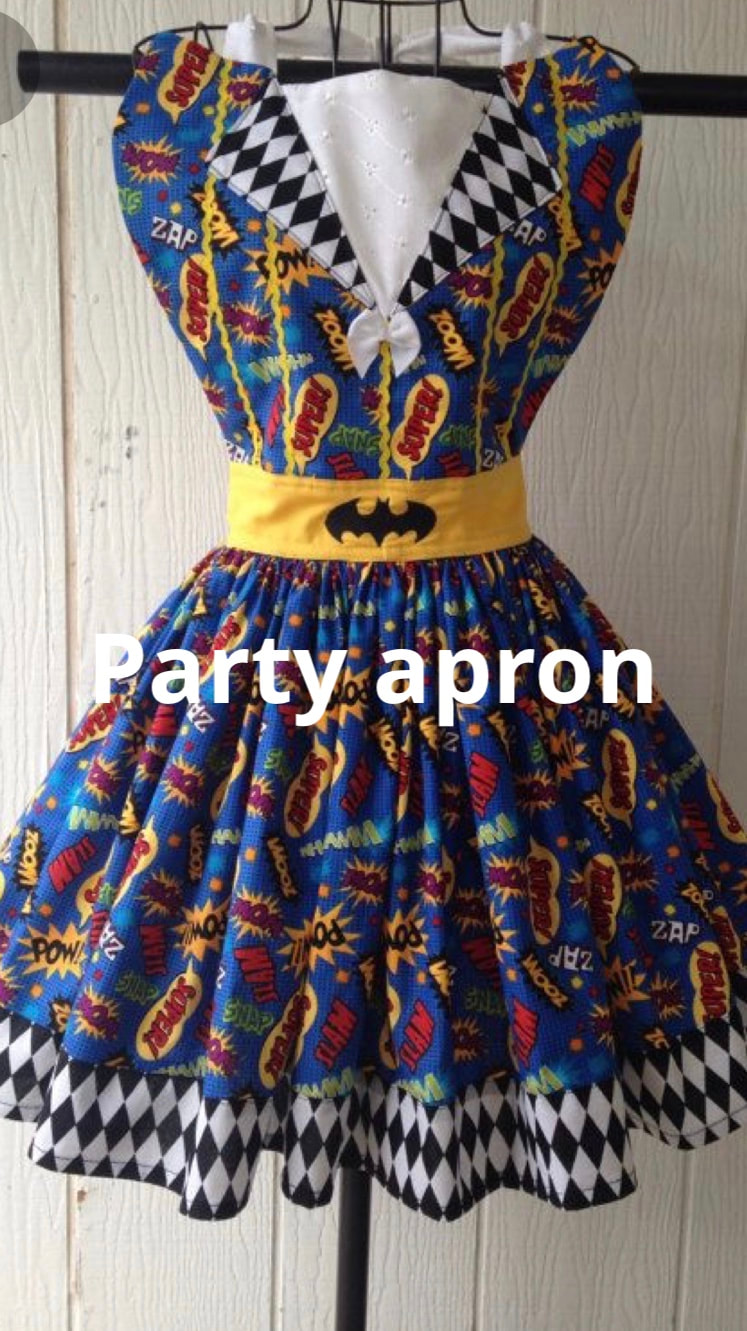 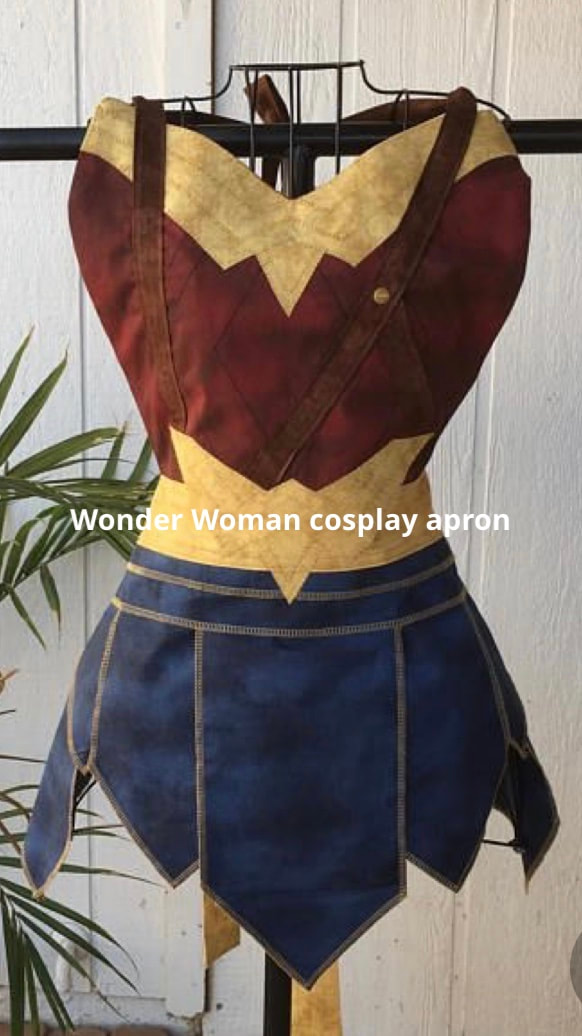 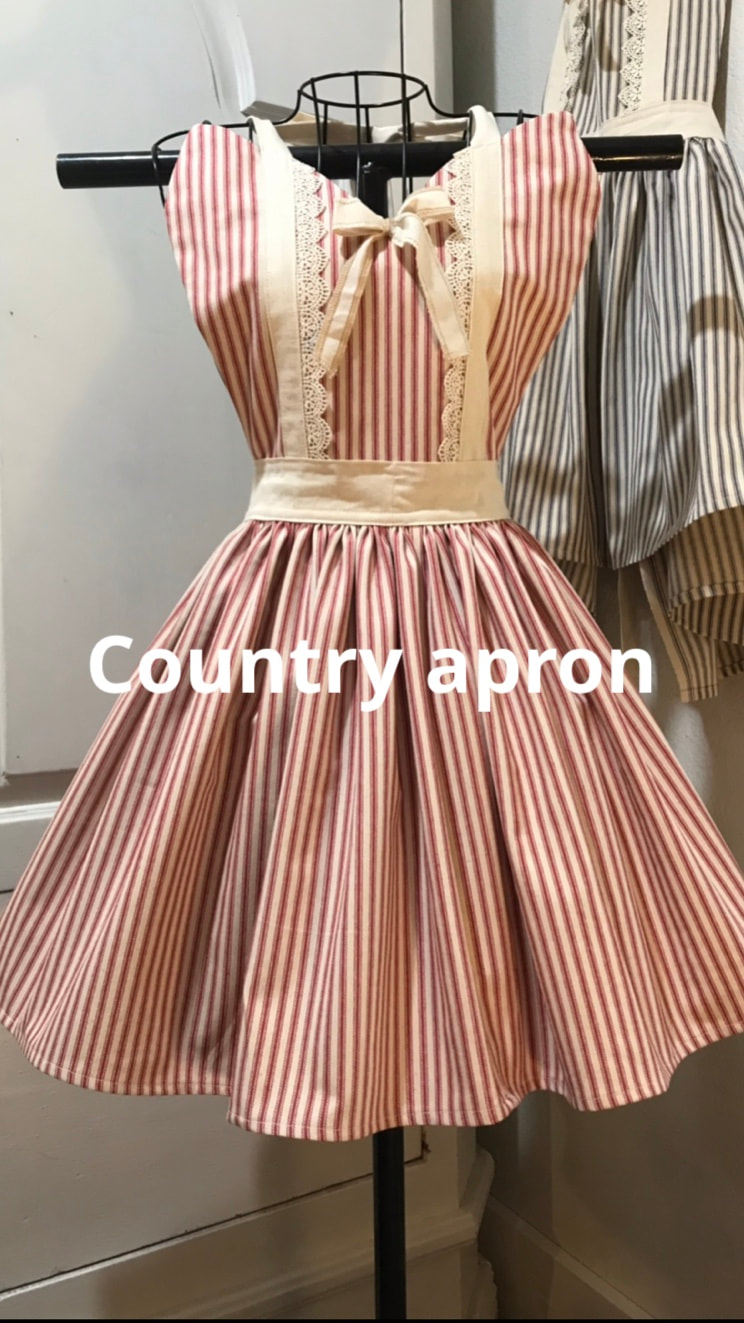 TUTORIAL Supplies 2 yards of cotton fabric 44 - 45 inches wide - top, skirt, bias 1/2 yard cotton fabric 44 - 45 inches wide - waistband, neckties coordinating cotton thread scissors large safety pin pins iron sewing machine Measuring tape embellishments - I used ribbon 🎀 16 inches optional I used a rotary cutter, rotary ruler, and rotary mat for my straight cuts, but scissors will work as well. I also used a serger for finishing some of the seams. A zigzag stitch on your sewing machine will also do the job. I finish certain seams to add longevity to the apron. 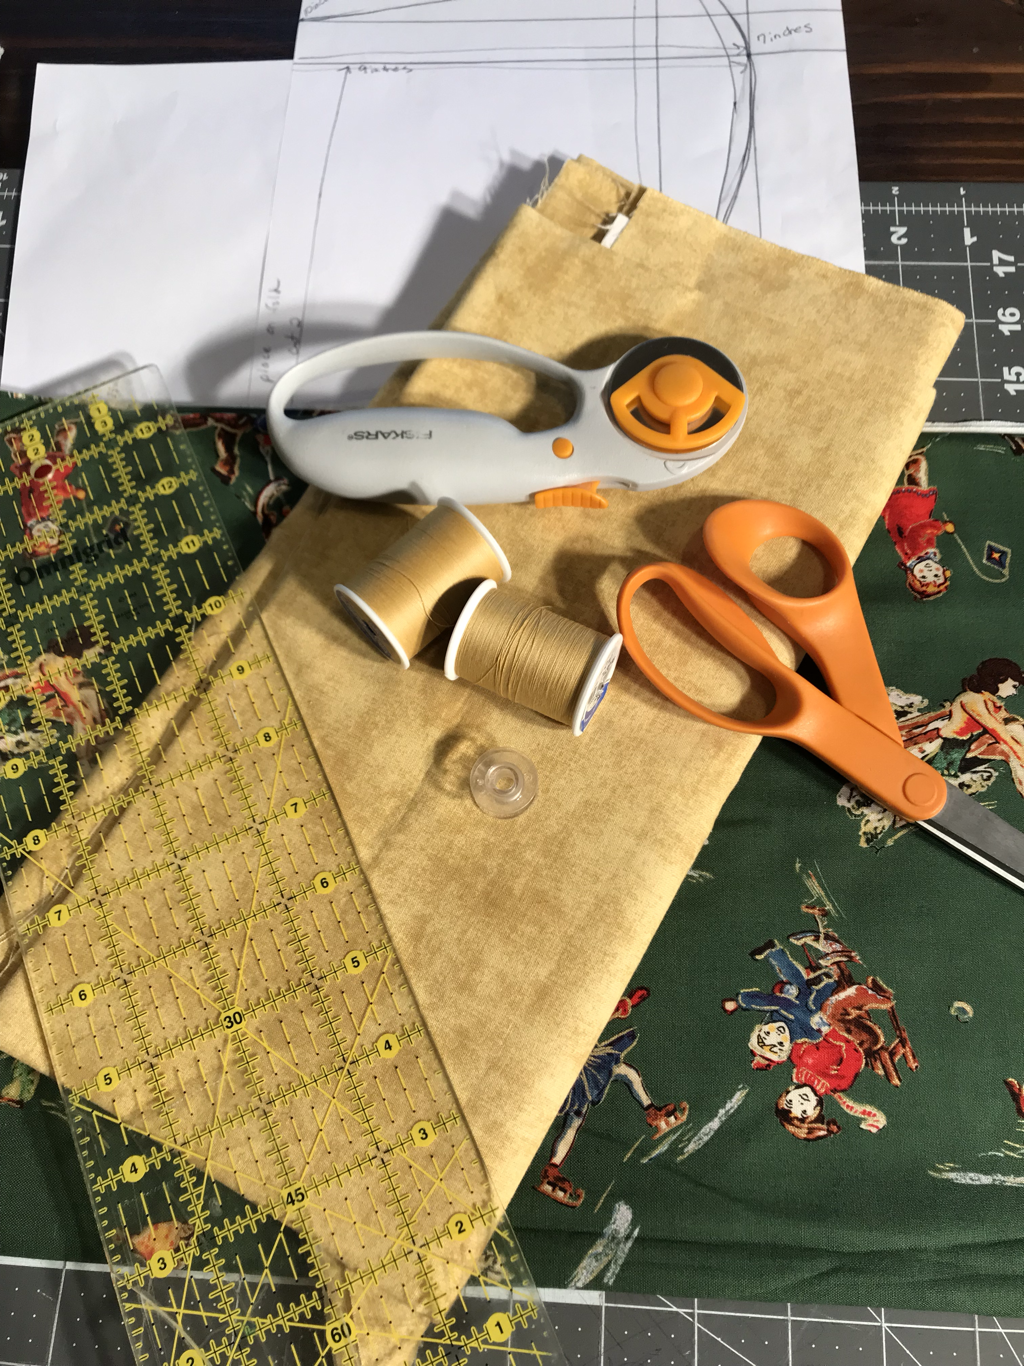 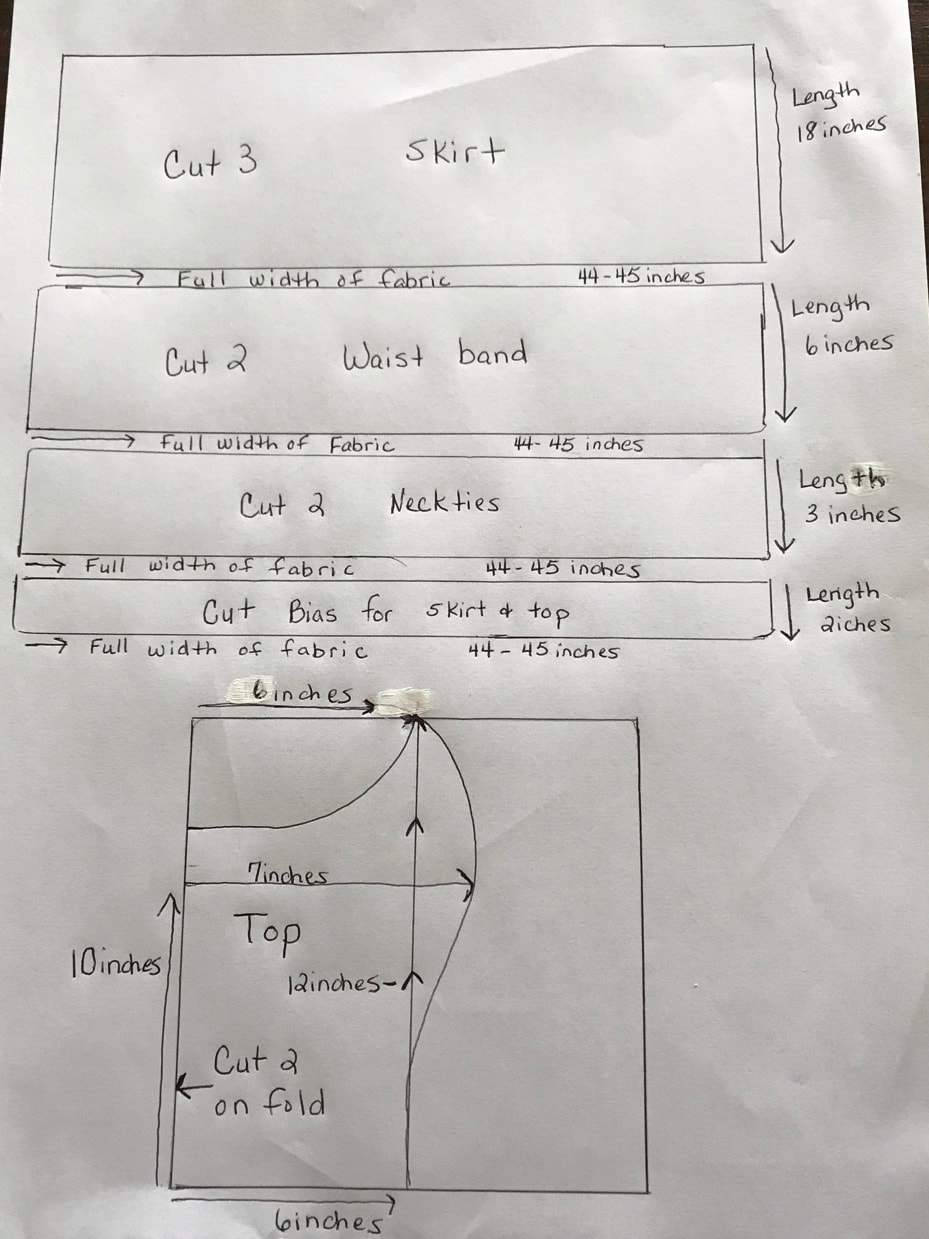 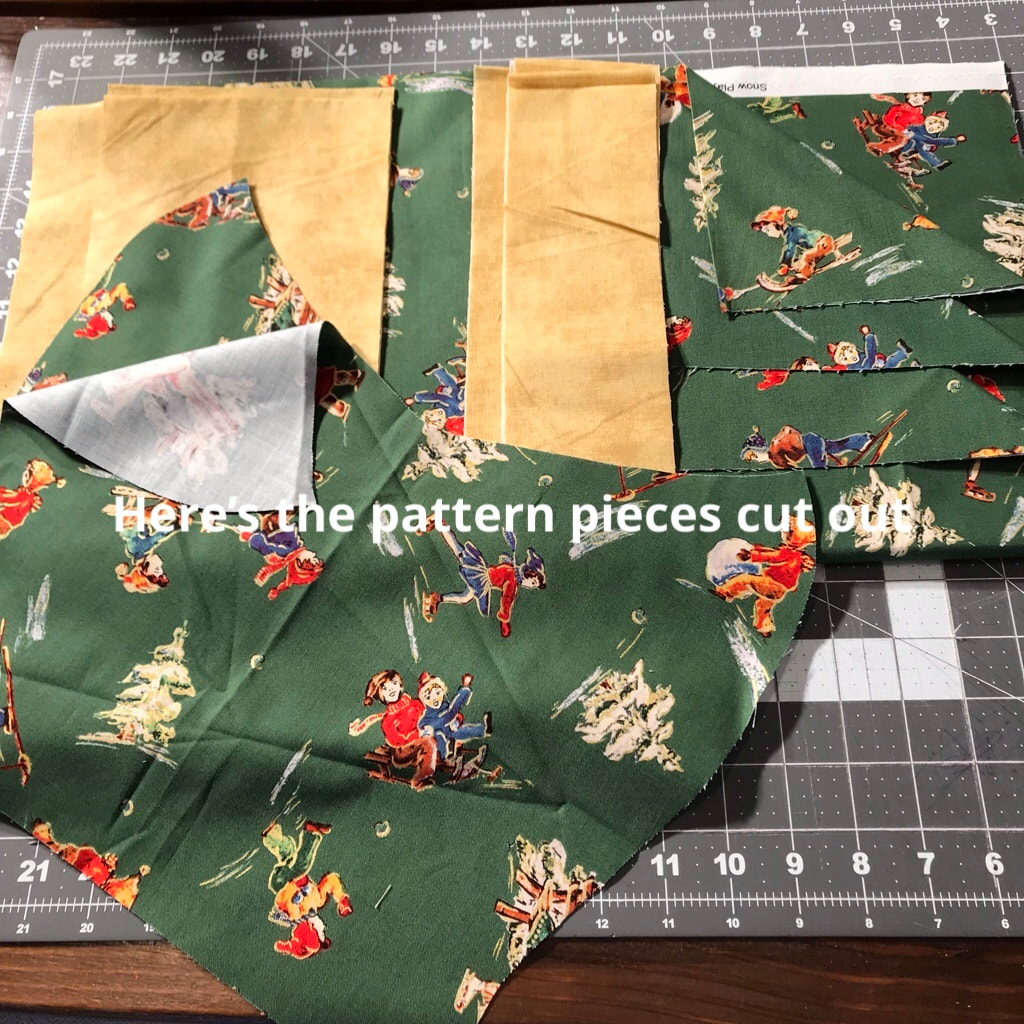 Start with the top. Turn right sides together and sew together using a 1/4 inch seam allowance leaving the bottom open for turning right side out. Clip corners and neck area as shown in pictures below. Careful not to cut the stitches. Turn right side out and press. Fold 3 inch cut of the neckties right side together, sew down the entire length of fabric. Turn right side out using safety pin. Press. Turn in one end of each tie, press and stitch. Measure 1 inch over from sides of the bottom of top, place unfinished part of ties there. Use pictures below for reference. Top stitch. Finish bottom of top with matching bias, zigzag stitch or serge. Now take two of the skirt pieces and with right sides together stitch together the 18 inch length. These seams I reinforce by serging or using a zigzag stitch . Press and add the 3rd skirt piece with right sides together to either end of already sewn skirt and repeat. Hem sides and bottom of skirt. Sew two rows of gathering stitches to the full length of the top of the skirt. Gather tightly. Careful not to break your thread. I secure the gather by wrapping the long threads tightly around a pin. Apply bias to top of gathering to secure and finish seam. Lay waistband pieces right sides together stitching one end of the 6 inch sides together. Press. Fold together the 6 inches together and sew down the full length. Turn right side out and press. Tuck in both ends, press and sew. Time to assemble your apron. Find the middle of your top by folding in half and place a pin there. Do the same to the skirt and waistband. Align the pins to the waistband and top follow by the waistband and skirt. The waistband should be over the top of the skirt and top pieces. Coving 1/2 inch of the bottom portion of the top and 1/2 inch of the top portion of the skirt. Pin together. Top stitch on the edge of the waistband starting at the end of the skirt to the other end working your way up to the top and continuing to where you started. Repeat 1/2 inch in following your first stitch around as a guide. Add any embellishments and you are done. Have fun cooking in your apron!!! HAPPY COOKING
1 Comment
|
AuthorWrite something about yourself. No need to be fancy, just an overview. Archives
November 2019
Categories |


 RSS Feed